Security experts agree the best way to stay safe online is to use strong, secure, unique passwords for each of your online accounts. This way when one account gets compromised, the others remain safe
Note: If you only use a password manager for one thing, make it your email login. Your email is the most important account you have as it is the gateway to practically every other account. Almost every service provides “Forgot password?” functionality that allows you to reset a password using a single piece of information - your email address. It is the single point of failure that if anyone were to gain access to could do the same for almost every other account.
With so much of our lives dependent upon the internet, it’s easy to accumulate large numbers of accounts what with all of the services we use – Email, Netflix, Banking, Utilities, etc. If you use the same password for all of these, slight variations of the same one, and or insecure ones 1, then that could lead to outcomes for you ranging anywhere from inconvenient to devastating.
When (not if) one of the services you use is compromised, any data that is stolen will inevitably become public - known as a data breach. A company following good security practices will encrypt (make it next to impossible to read) your password but all the other data about you can be used to cross-reference other public data exposed from companies that don’t follow good security practices. If you use unique but weak passwords 1, you’re not much better off as those are easy for computers to guess.
People are constantly looking for and using this data and companies are constantly being compromised. This isn’t theoretical. If you have any doubts, enter your email address(es) on Have I Been Pwned to find data breaches containing information about you.
A good way to avoid having an account of yours being taken over is to use long, difficult to crack, and unique passwords for each online account you have. For example, “YxzB9hjh24R3WTqerW@xndq!F_LrqujwDzZ4nnoG7ako6jTC!LGq-uYYfBH@8fEa@b_Yuzr4.heF@mnBGTetozhtF.KhfRm*W!EA”, which is difficult to generate and impossible to remember. That’s what password managers are for.
A password manager is kind of like a safe. That safe contains a notebook in which you keep account login information (usernames and passwords) for all of the services you use.
Login information managed by a password manager:
| Name | Website | Username | Password |
|---|---|---|---|
| https://www.instagram.com/ | i_am_so_cool | RESPITE-urinary-breast-wholly-croak-pearl-brutal | |
| CIBC Bank | https://www.cibc.com | bobjones@gmail.com | osF96st4zC4ws7.YDTnbw-_MncWdt.itz!E |
| Telstra | https://www.my.telstra.com.au | bobjones@gmail.com | vibrant-bequest-afro-string-cinch-tiresome |
| … | … | … | … |
You create a combination (Master Password) to unlock your “safe” (app) that only you know and from that point on you unlock it to get information from, or add new information to, your “notebook”.
Let’s say you want to login to your bank using login information you have stored in your safe (password manager)…
- Go to your safe (open your password manager app)
- Enter your combination and open the safe (enter Master Password)
- Open your notebook and find the site you need login information for (search the app)
- Enter the information you found into the website login page (copy and paste the information)
- Put the notebook back in the safe and lock it (lock the app)
This explains the basic concept of a password manager but password manager apps are much more sophisticated and offer many ways to make this whole process completely painless.
We’re lucky enough to have some good options to choose from for password managers including 1Password, Bitwarden, KeePass/Strongbox, Dashlane, and more. I personally recommend 1Password and we’ll cover their Desktop app (not their subscription cloud offering).
1Password push their cloud offering pretty hard so your experience may include some screens that differ from these. The service is great and feel free to sign up for it but if you don’t want to, just do what you can to bypass it where possible. If you do sign up for it this guide is still applicable and your experience should only differ slightly.
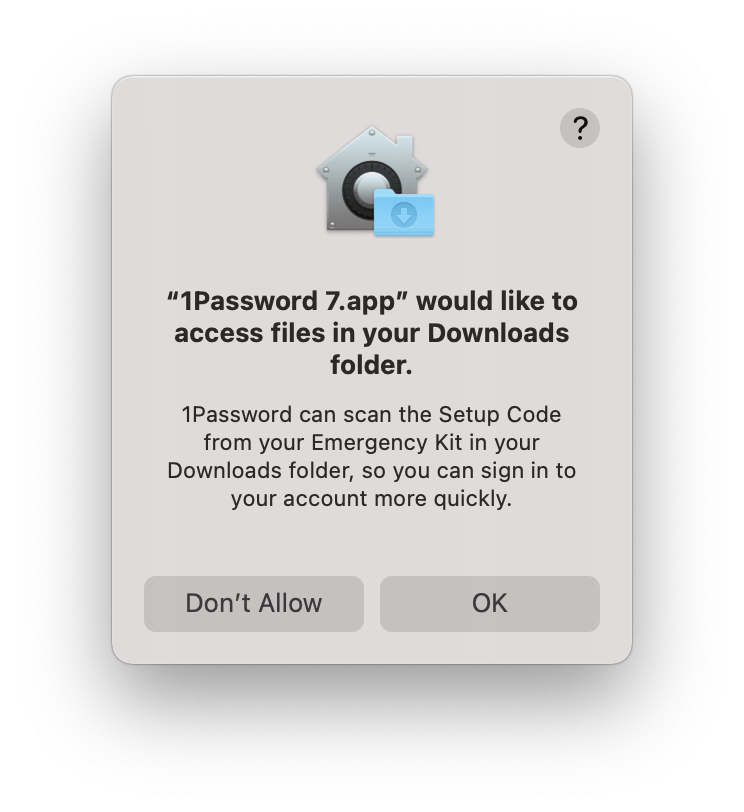
Start by downloading and installing it. Once you open it, you’ll see this dialog. I allowed it but denying access shouldn’t affect your experience.
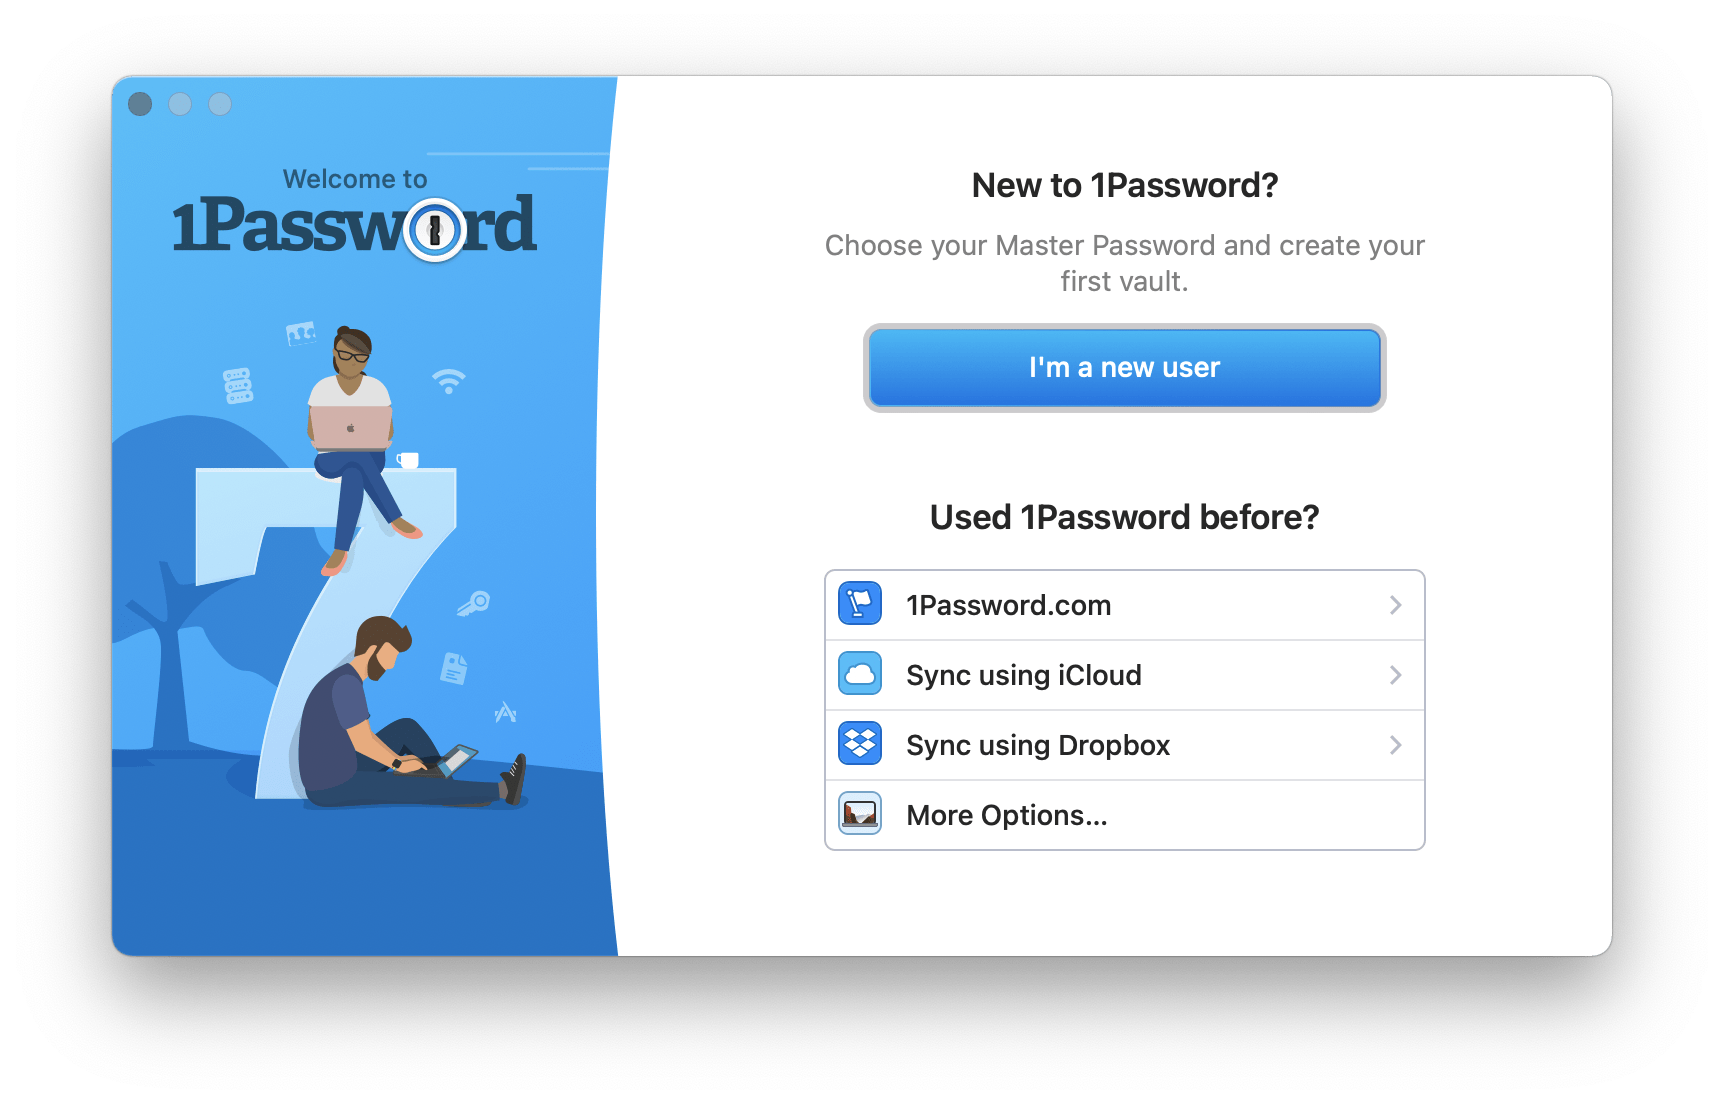
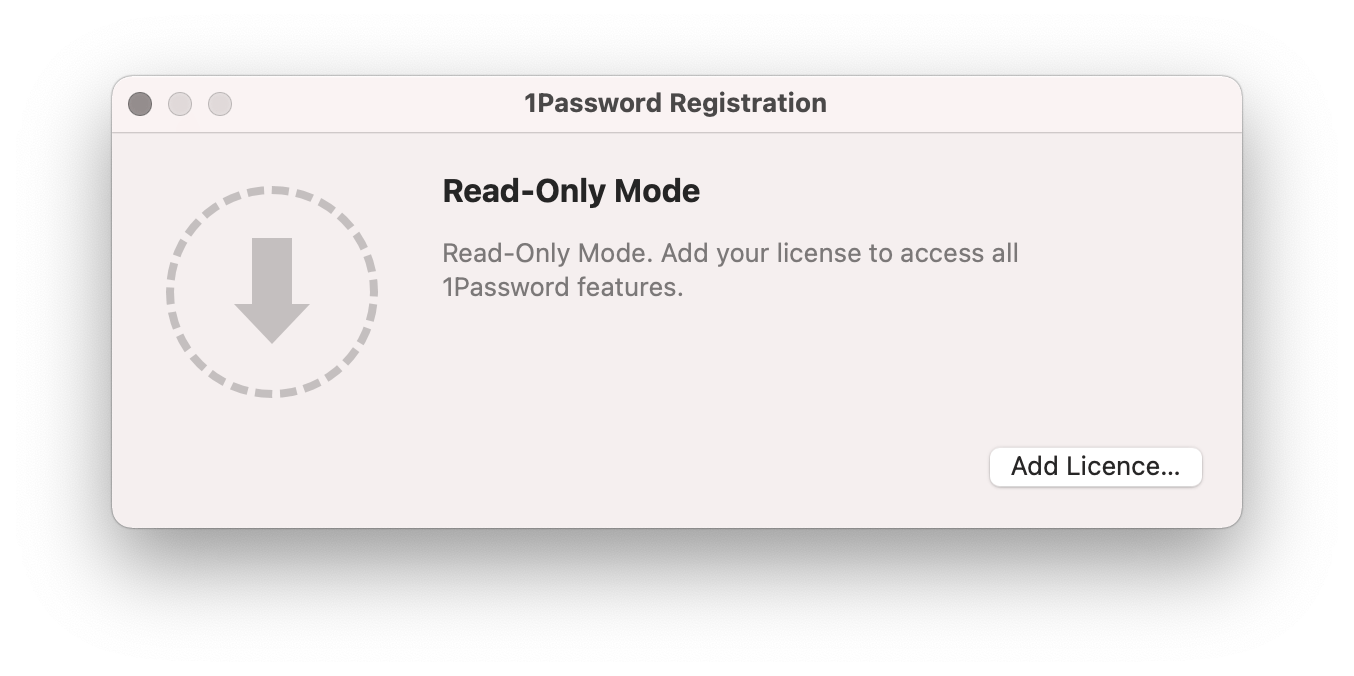
Depending on your situation, you will see one of these two screens - “Start my trial” or “I’m a new user”
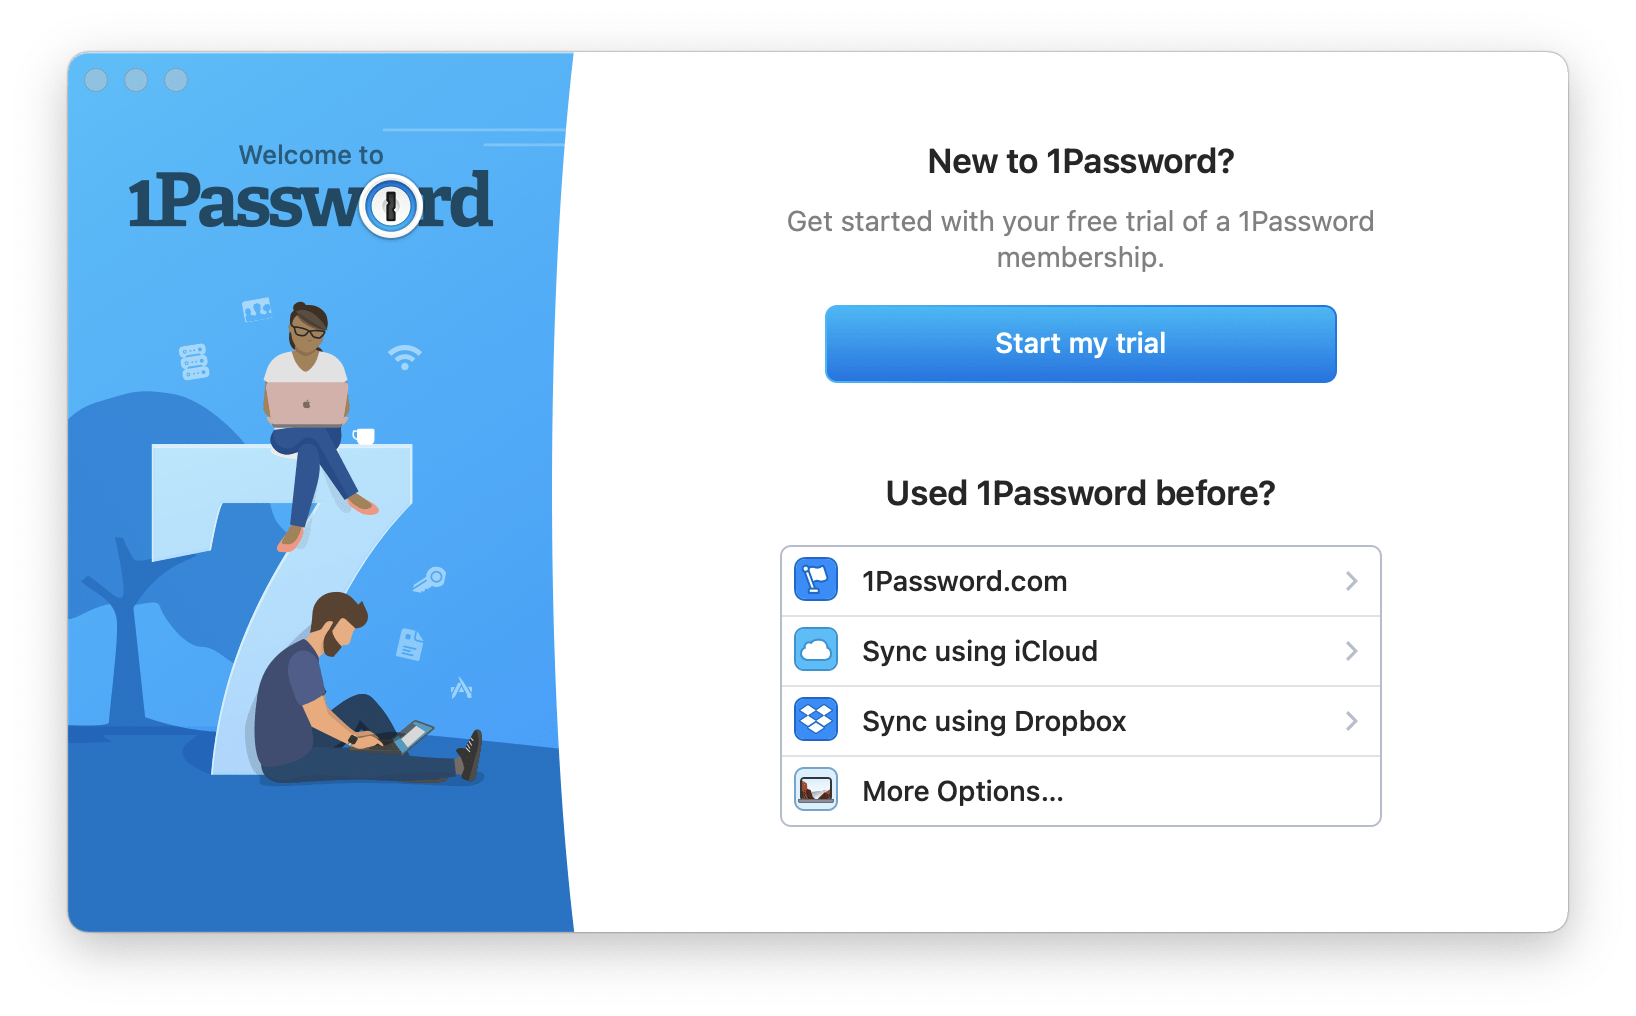
If you see the one mentioning “Trial” you’ll need to go to the the “1Password 7” item in your menu bar at the top left of your screen and select “Licence…”, then drag your licence onto the window that is displayed. I’m not sure if there’s a way to do this if you don’t want to pay yet and just want to try it out first. Like I said, they push the cloud version hard.
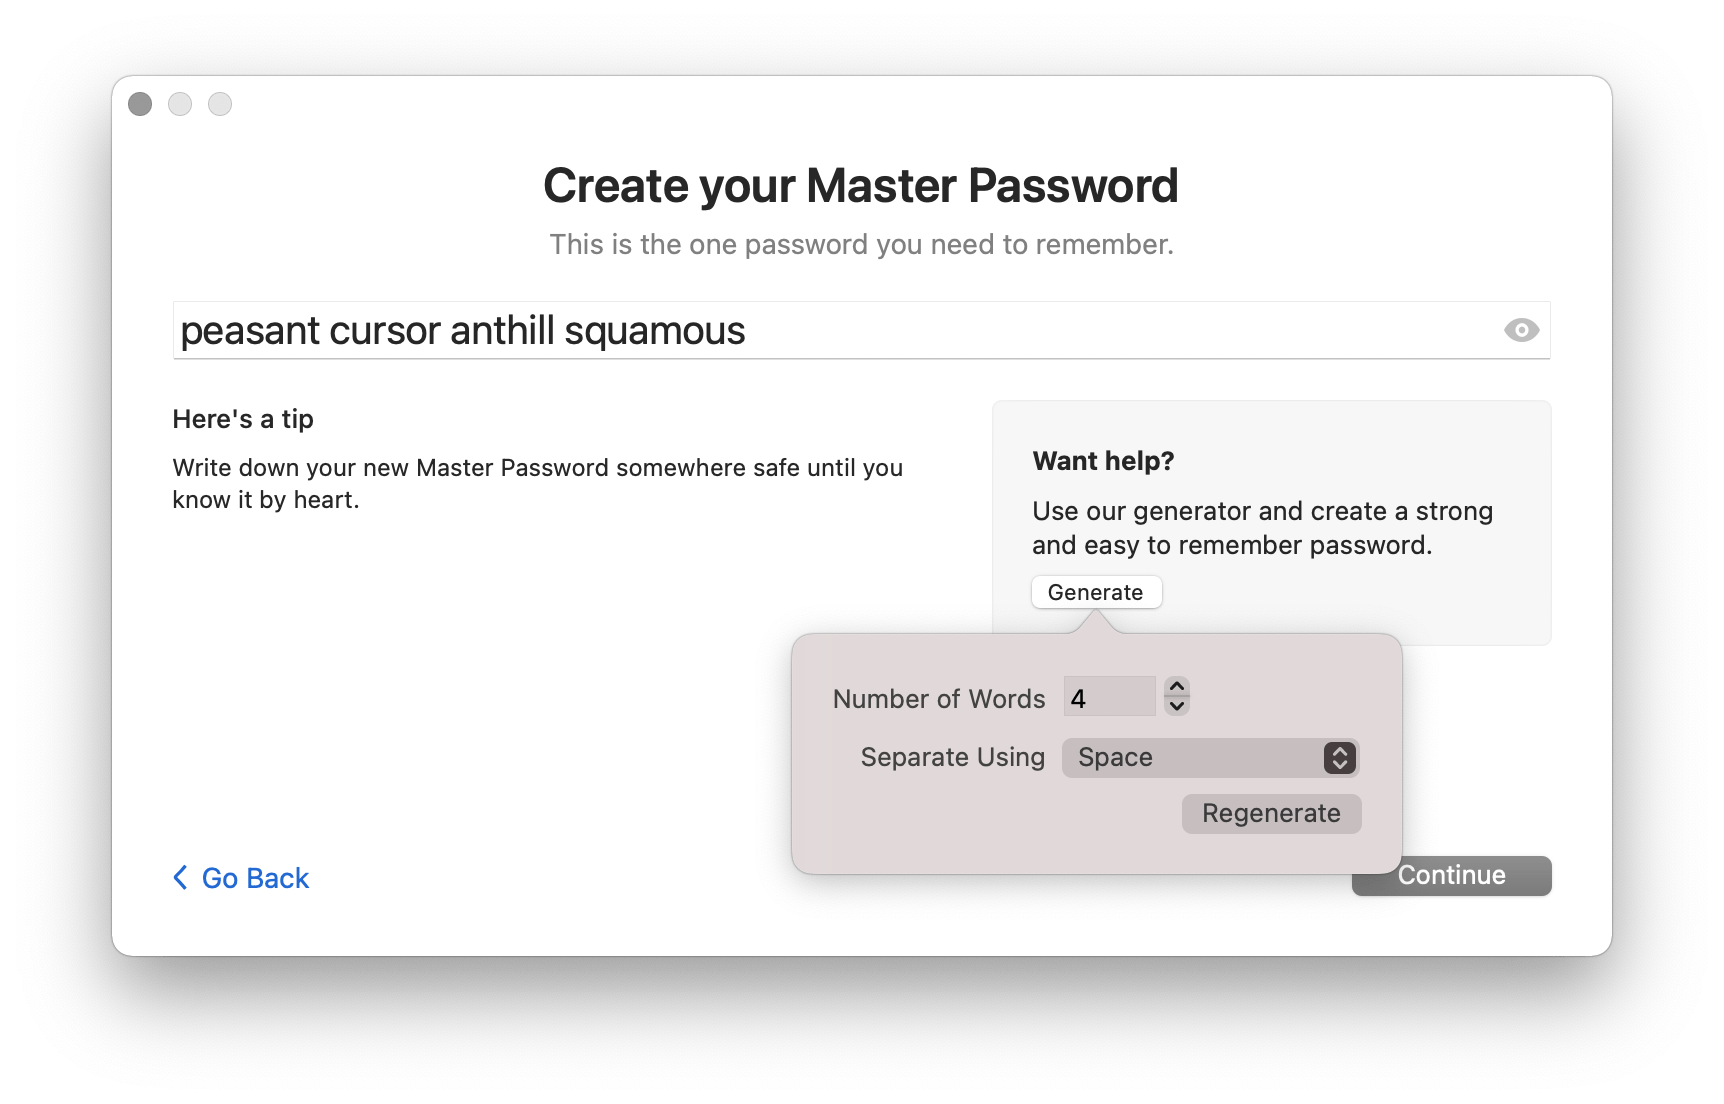
The first step to using a password manager is to create what is known as a Master Password - one password to rule them all. This is the password you will use to unlock the app (your “safe”) when you need information contained within it.
Choosing a passphrase made of 4-6 words instead of random characters is incredibly secure and actually easier to remember than you may think. 1Password offers a button to generate them for you, just keep hitting it until you find one you find interesting.
🚨 Important 🚨
If you forget or lose your Master Password you will never be able to retrieve all of the data you keep in your password manager. If anyone ever gets a hold of it they will be able to access all of the data you keep in your password manager. If you decide to store the Master Password somewhere or give it to anyone make sure it is in a secure place and you trust the person(s).
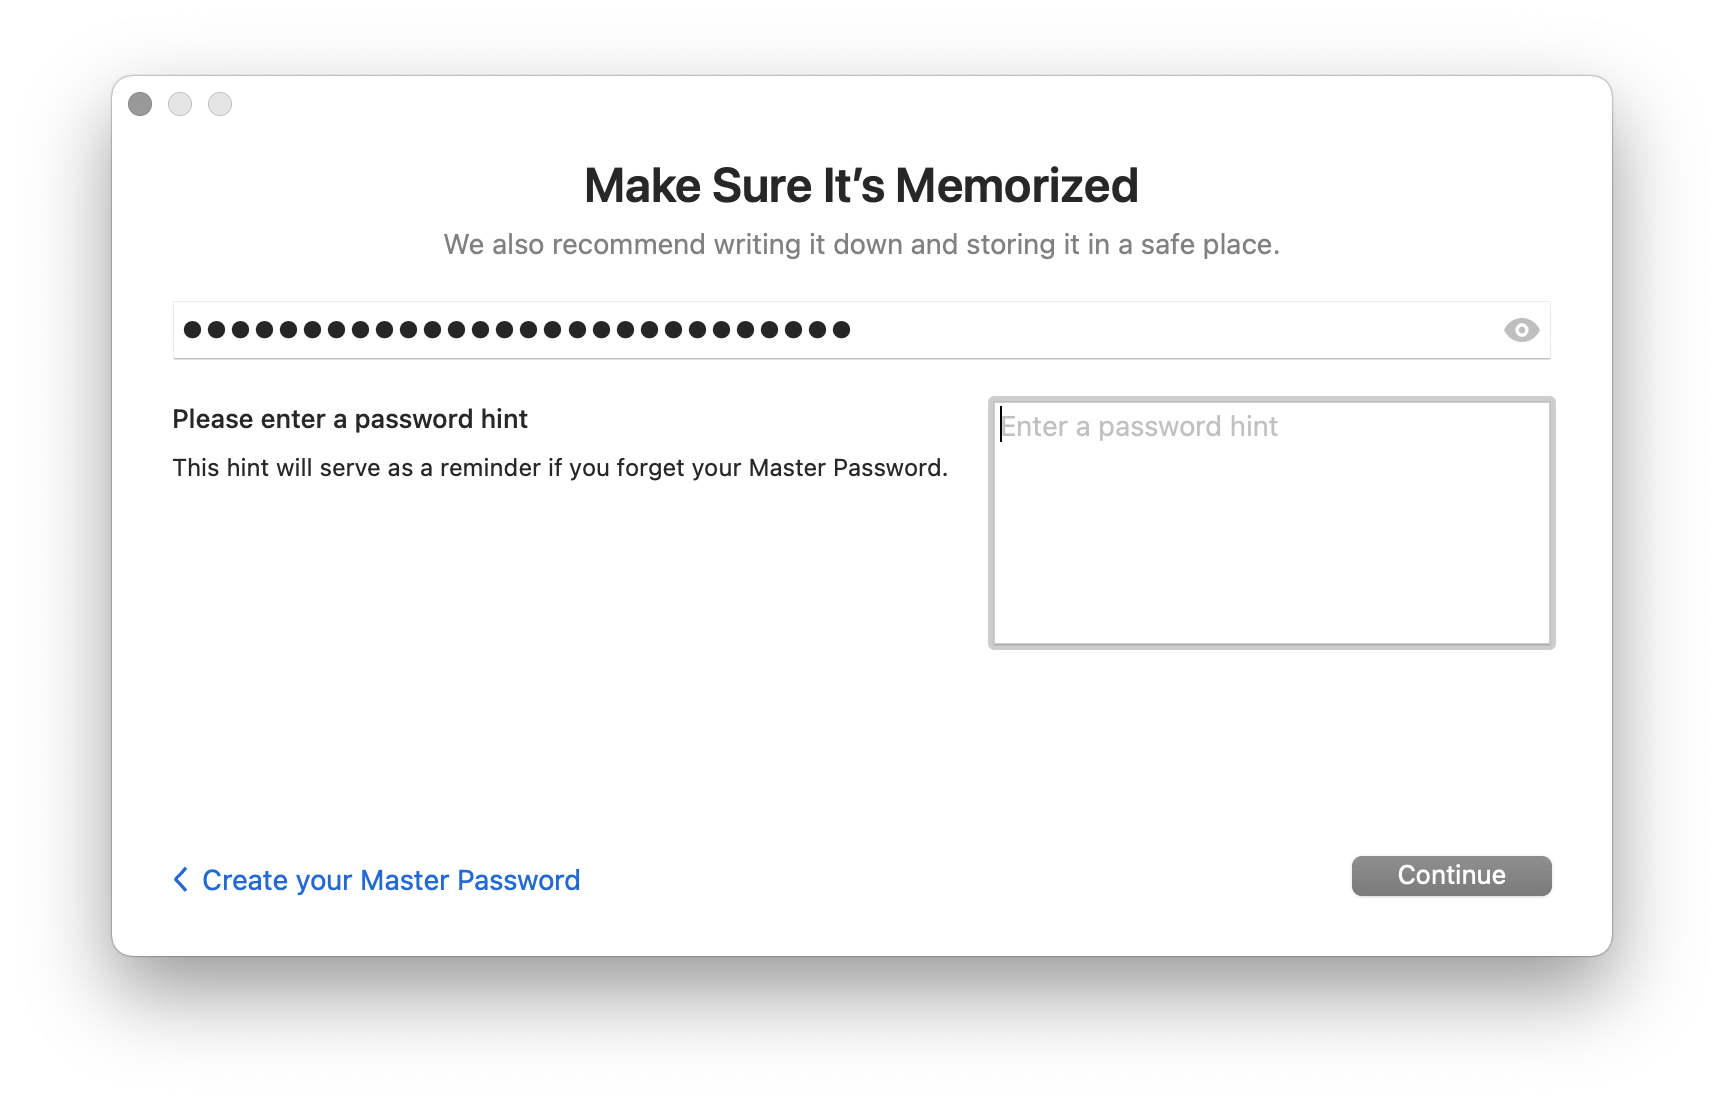
Once you’ve chosen a Master Password, enter it in the next step.
I recommend leaving the default settings of showing 1Password in the menu bar and opening it when you login to your computer.
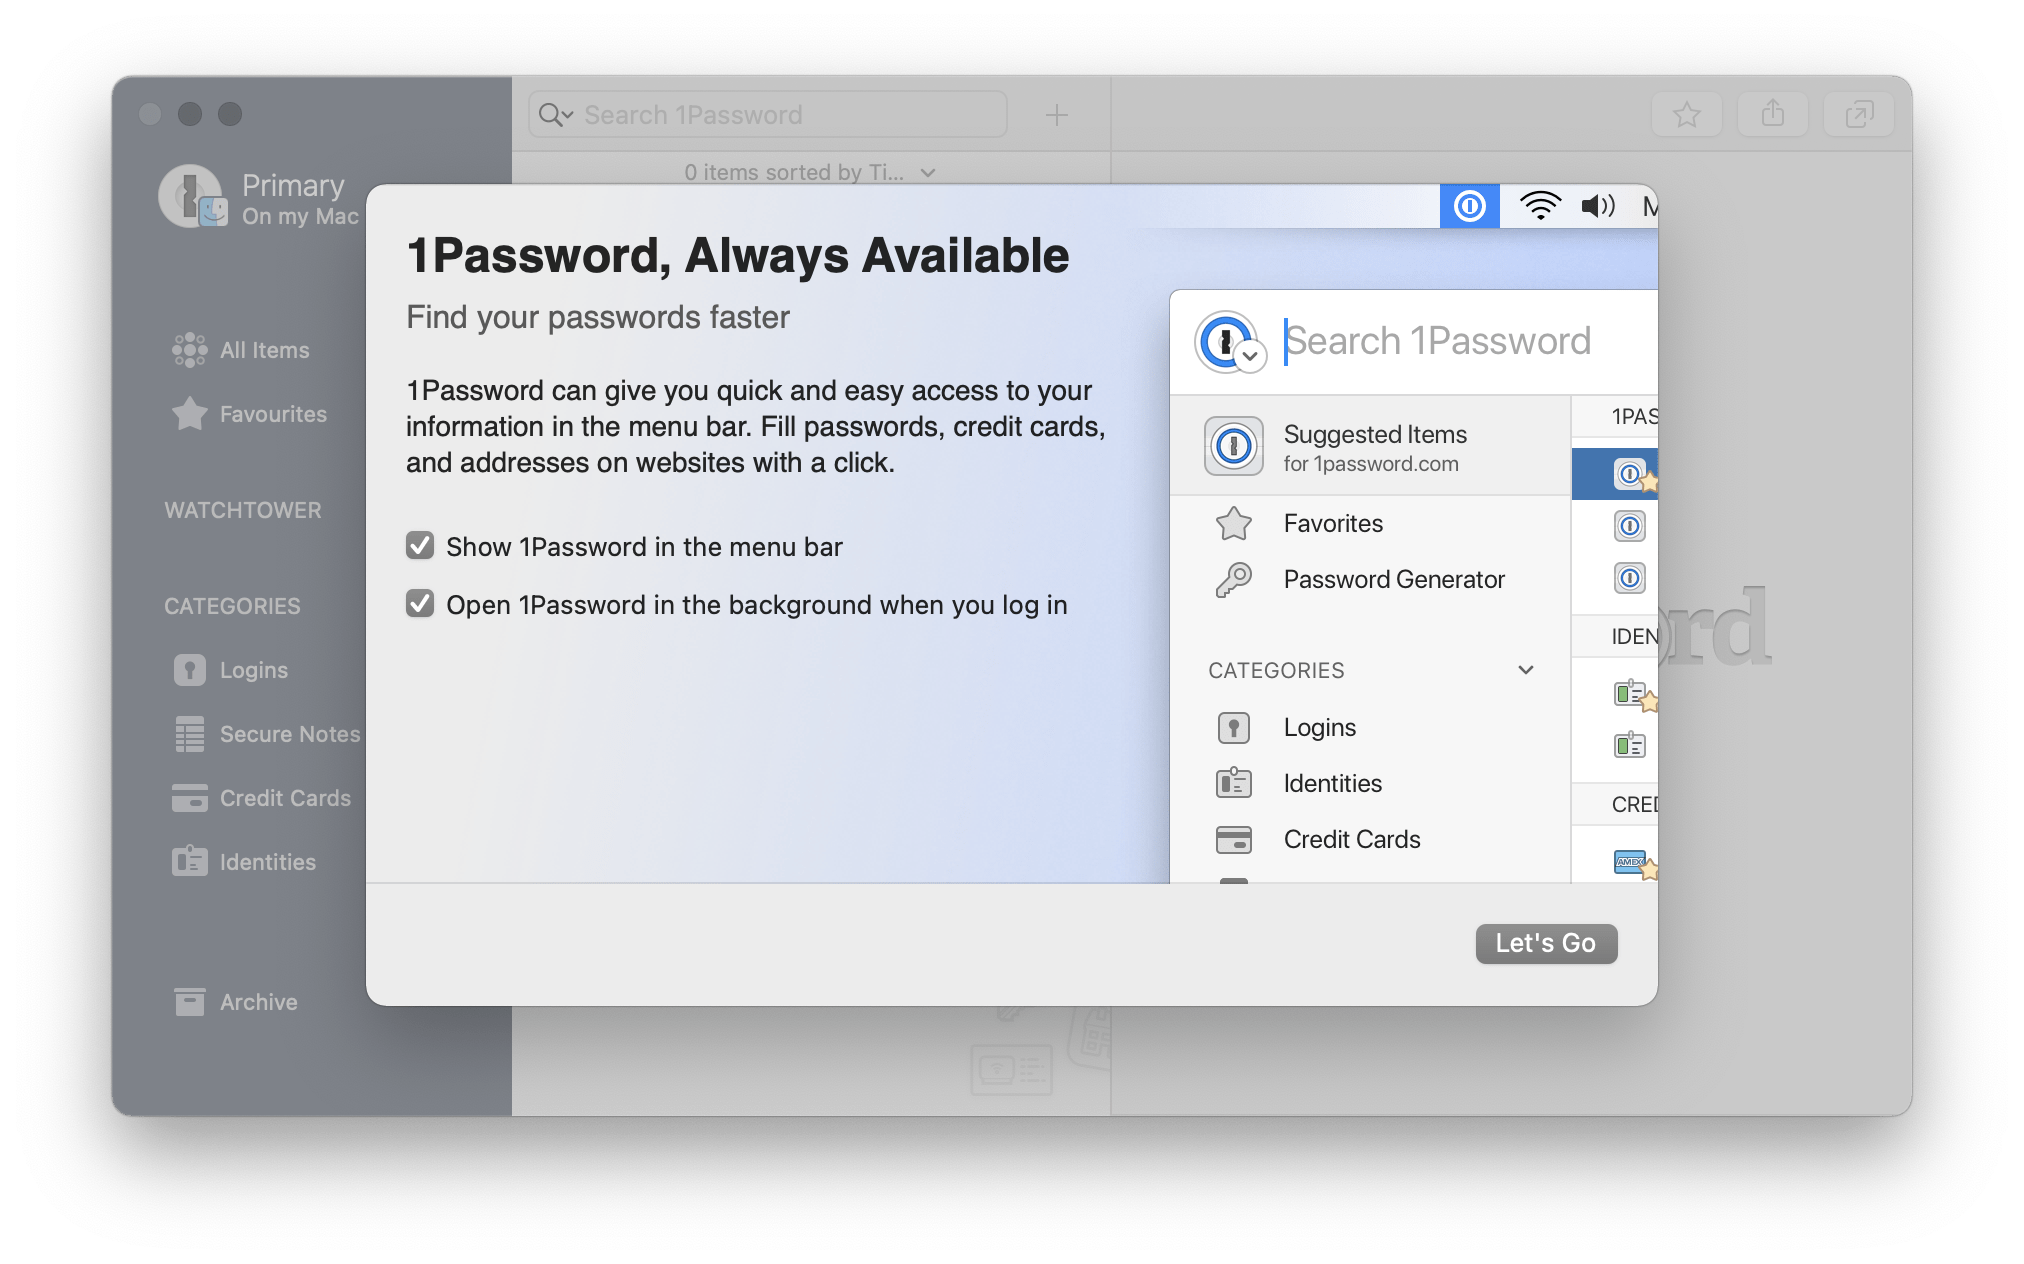
Once the app has been configured with your Master Password you’ll be presented with… nothing. This is where all of your logins will be stored (your “notebook”). You can add other types of data for safe keeping, just like a regular safe, but we won’t cover that here.
You could start adding accounts manually but that would be more work than necessary and prone to error. We’ll use a browser extension to do that automatically every time you login to an account.

Go ahead and lock the app so you can get used to using that new Master Password of yours. Go to the the “1Password 7” item in your menu bar at the top left of your screen and select “Lock”, or just hold down the ⌃⌥⌘L (control + option + command + L) keys.

Now we’ll install the browser extension(s) that let you save logins to, and retrieve logins from, your password manager directly from the browser.
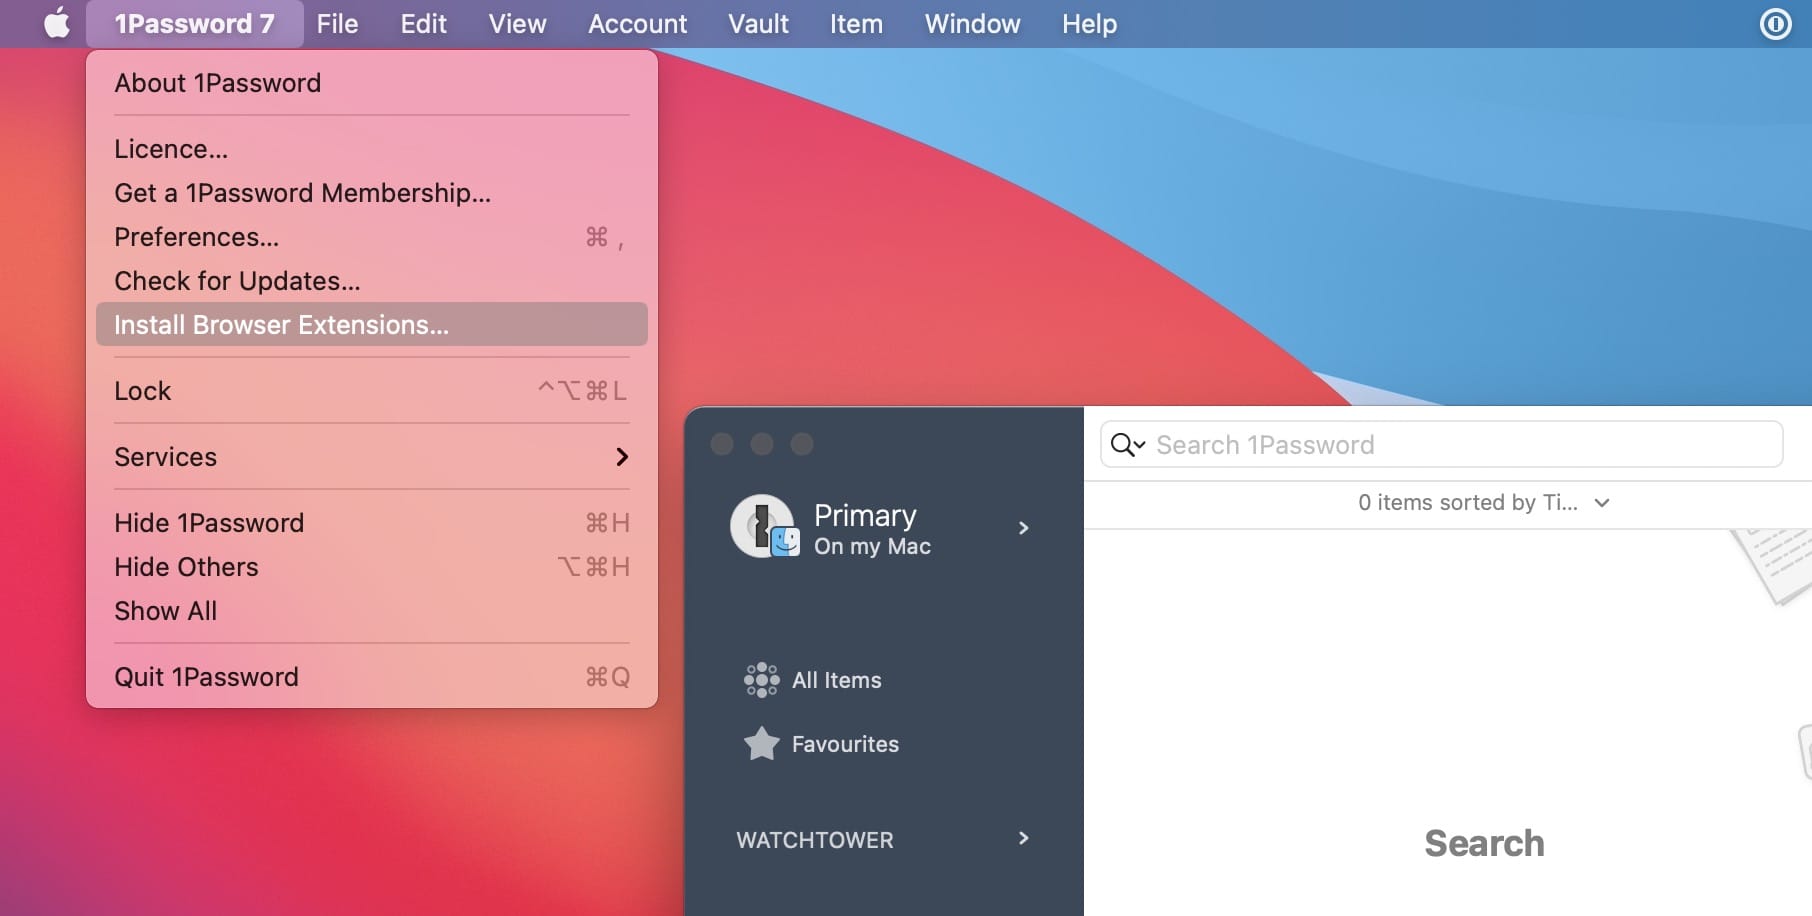
Go to the the “1Password 7” item in your menu bar at the top left of your screen and select “Install Browser Extensions”. If you run into any issues, here’s the link.
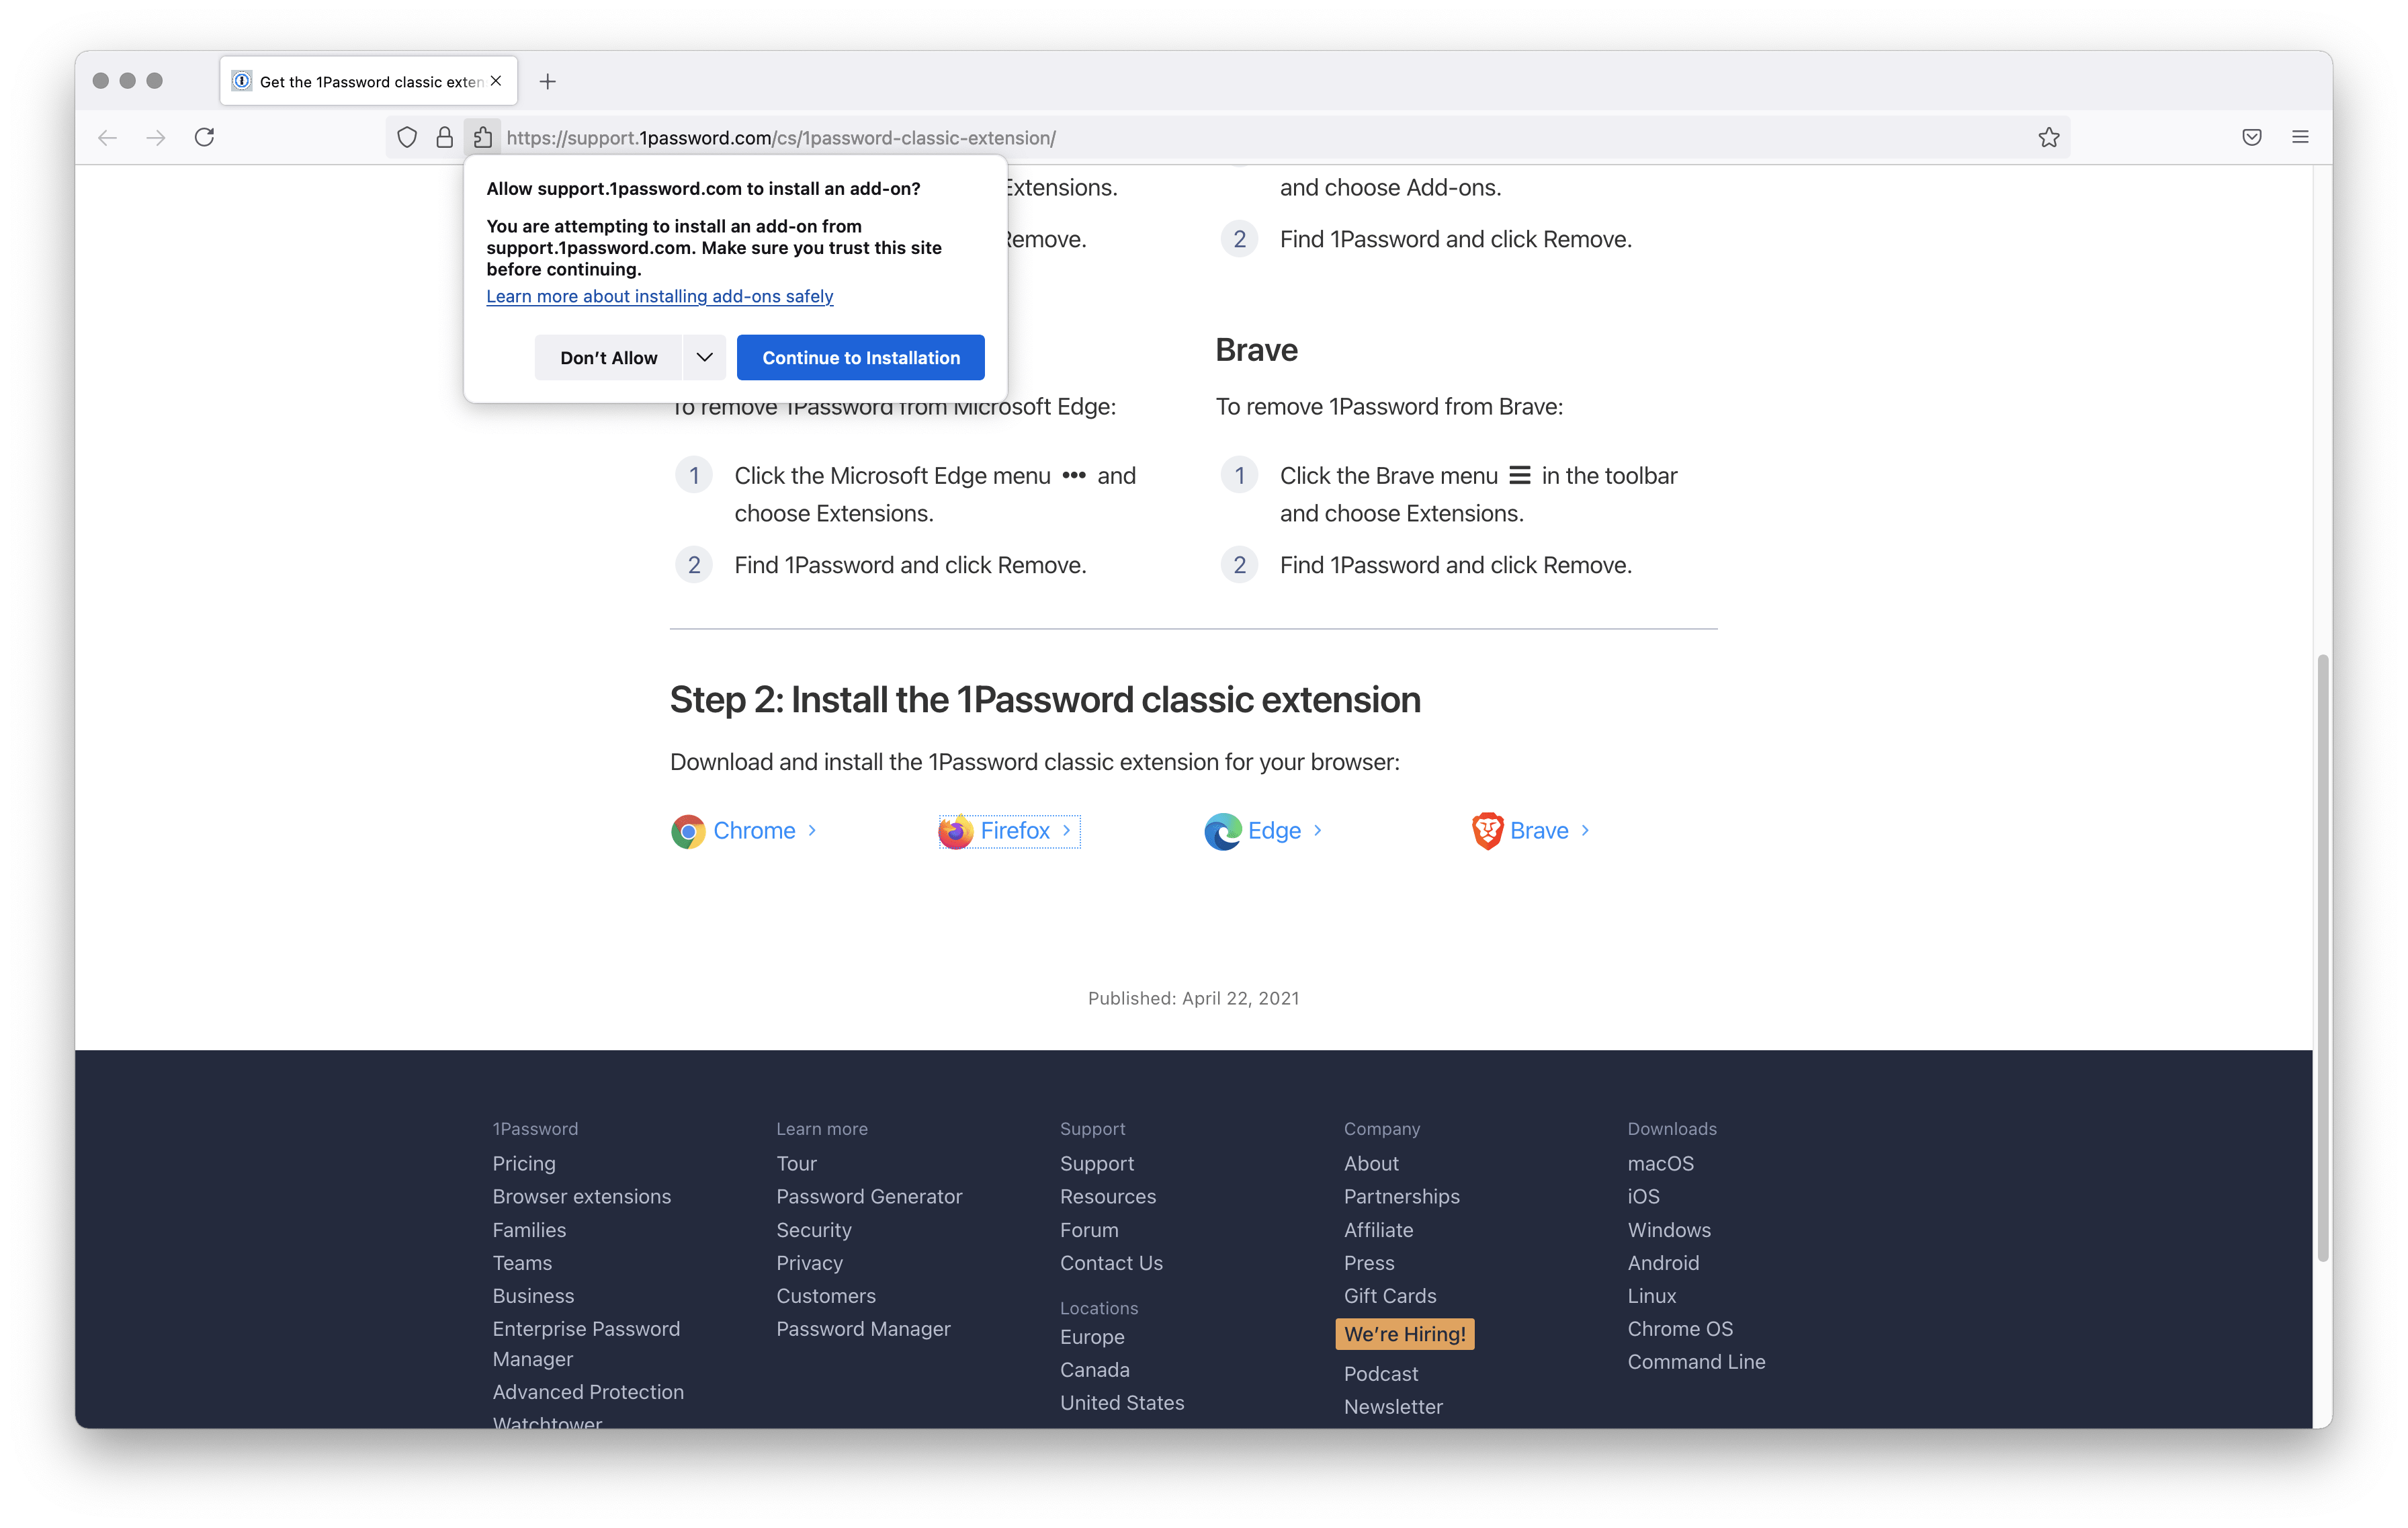
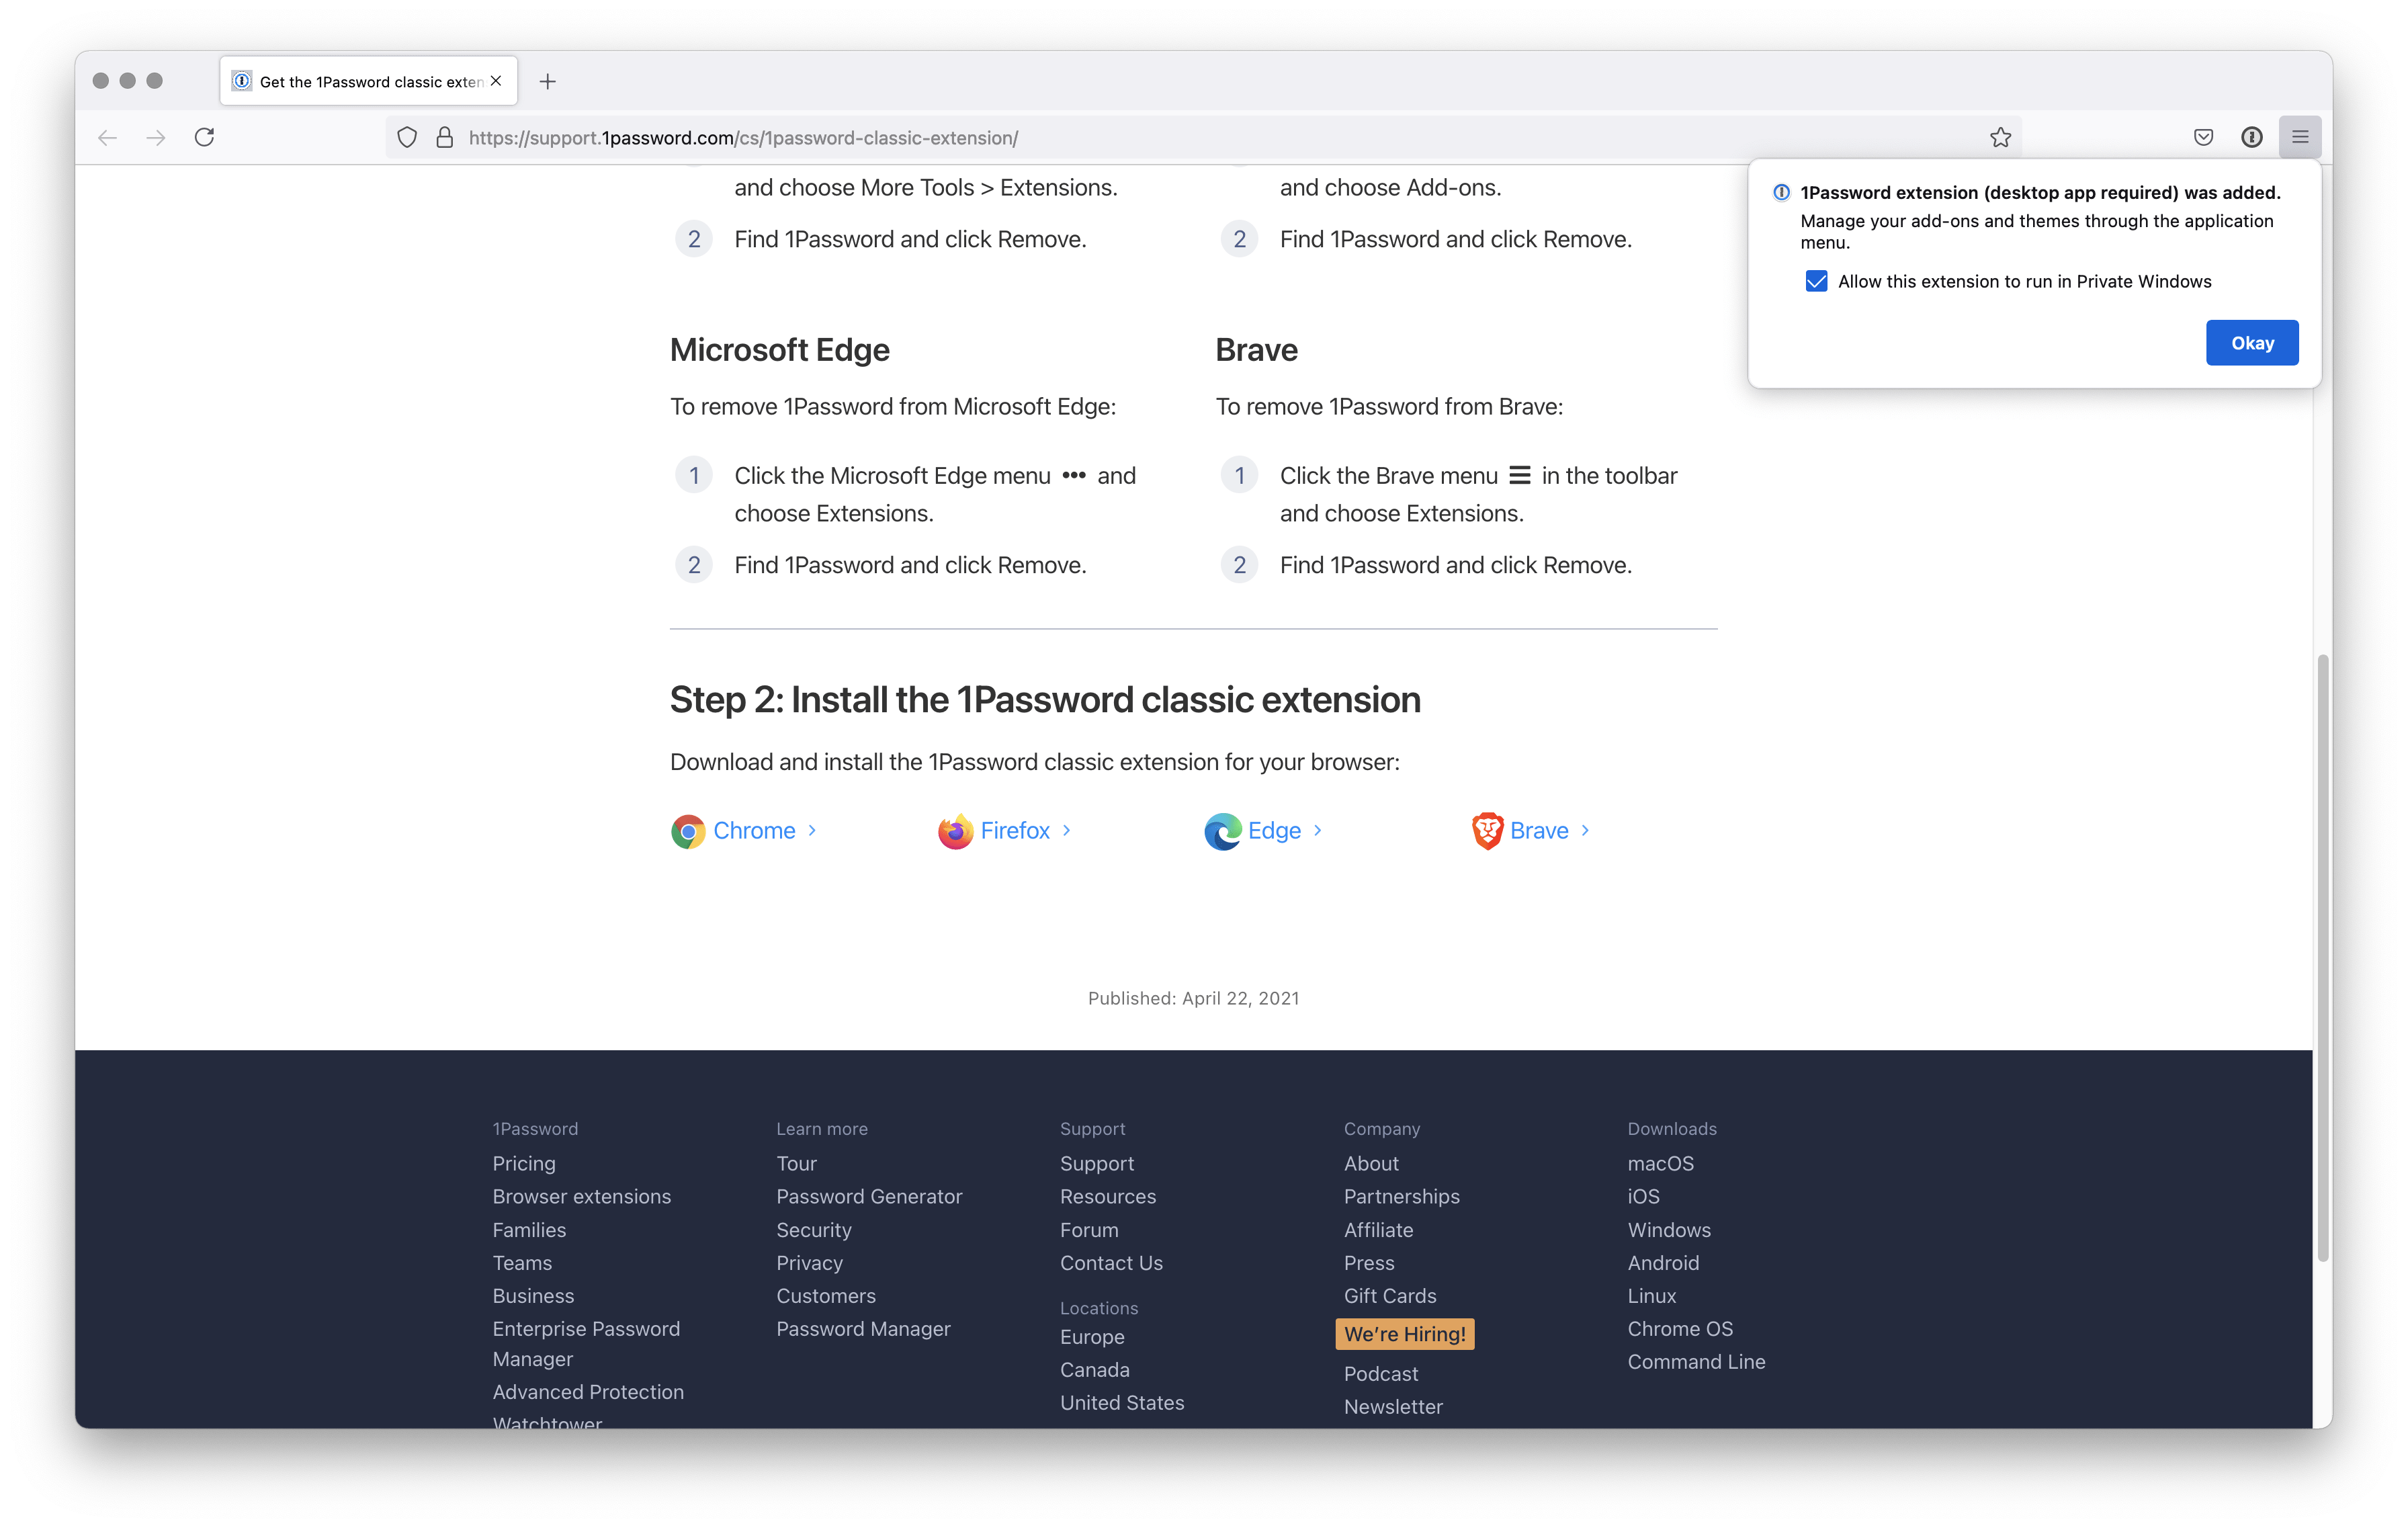
Scroll to the bottom of the page that opens up and choose the extension for the browser you are using then follow the installation prompts for your particular browser. If given the option, allow the extension to be run in private windows.
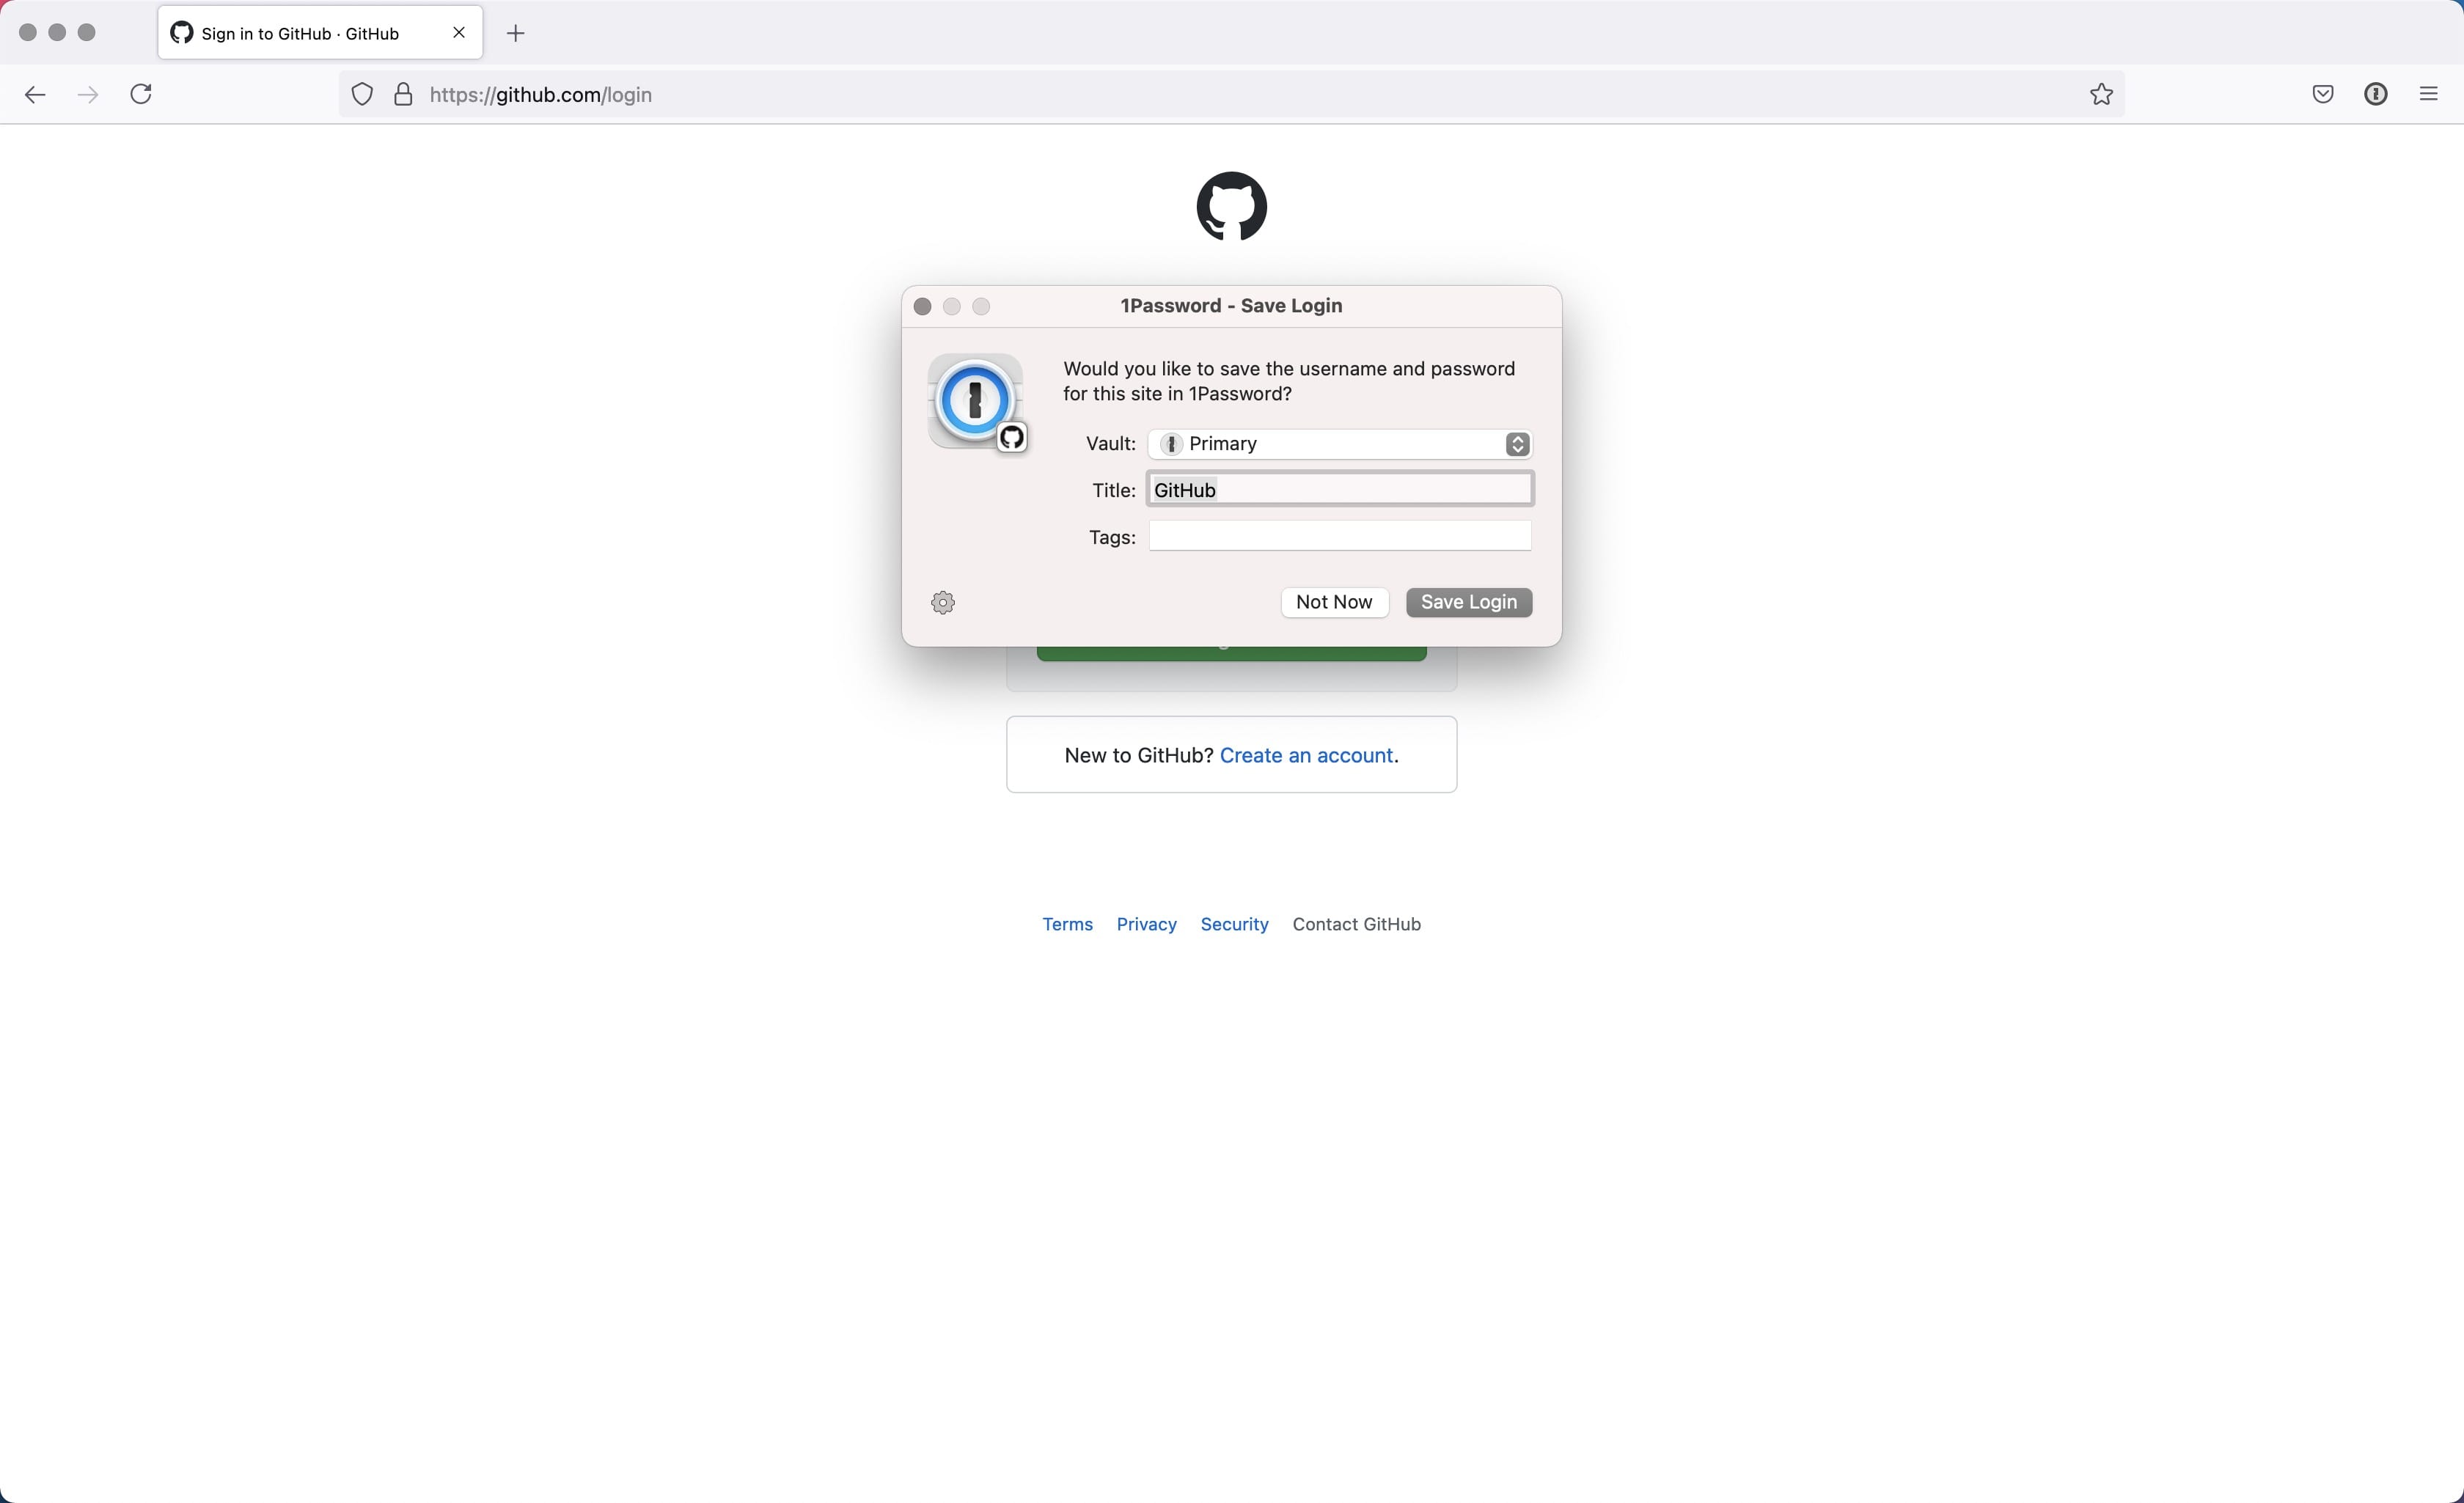
We’re all set! Lets add one of your logins to your password manager. Visit a site you have an account with and proceed to login to it as you normally would.
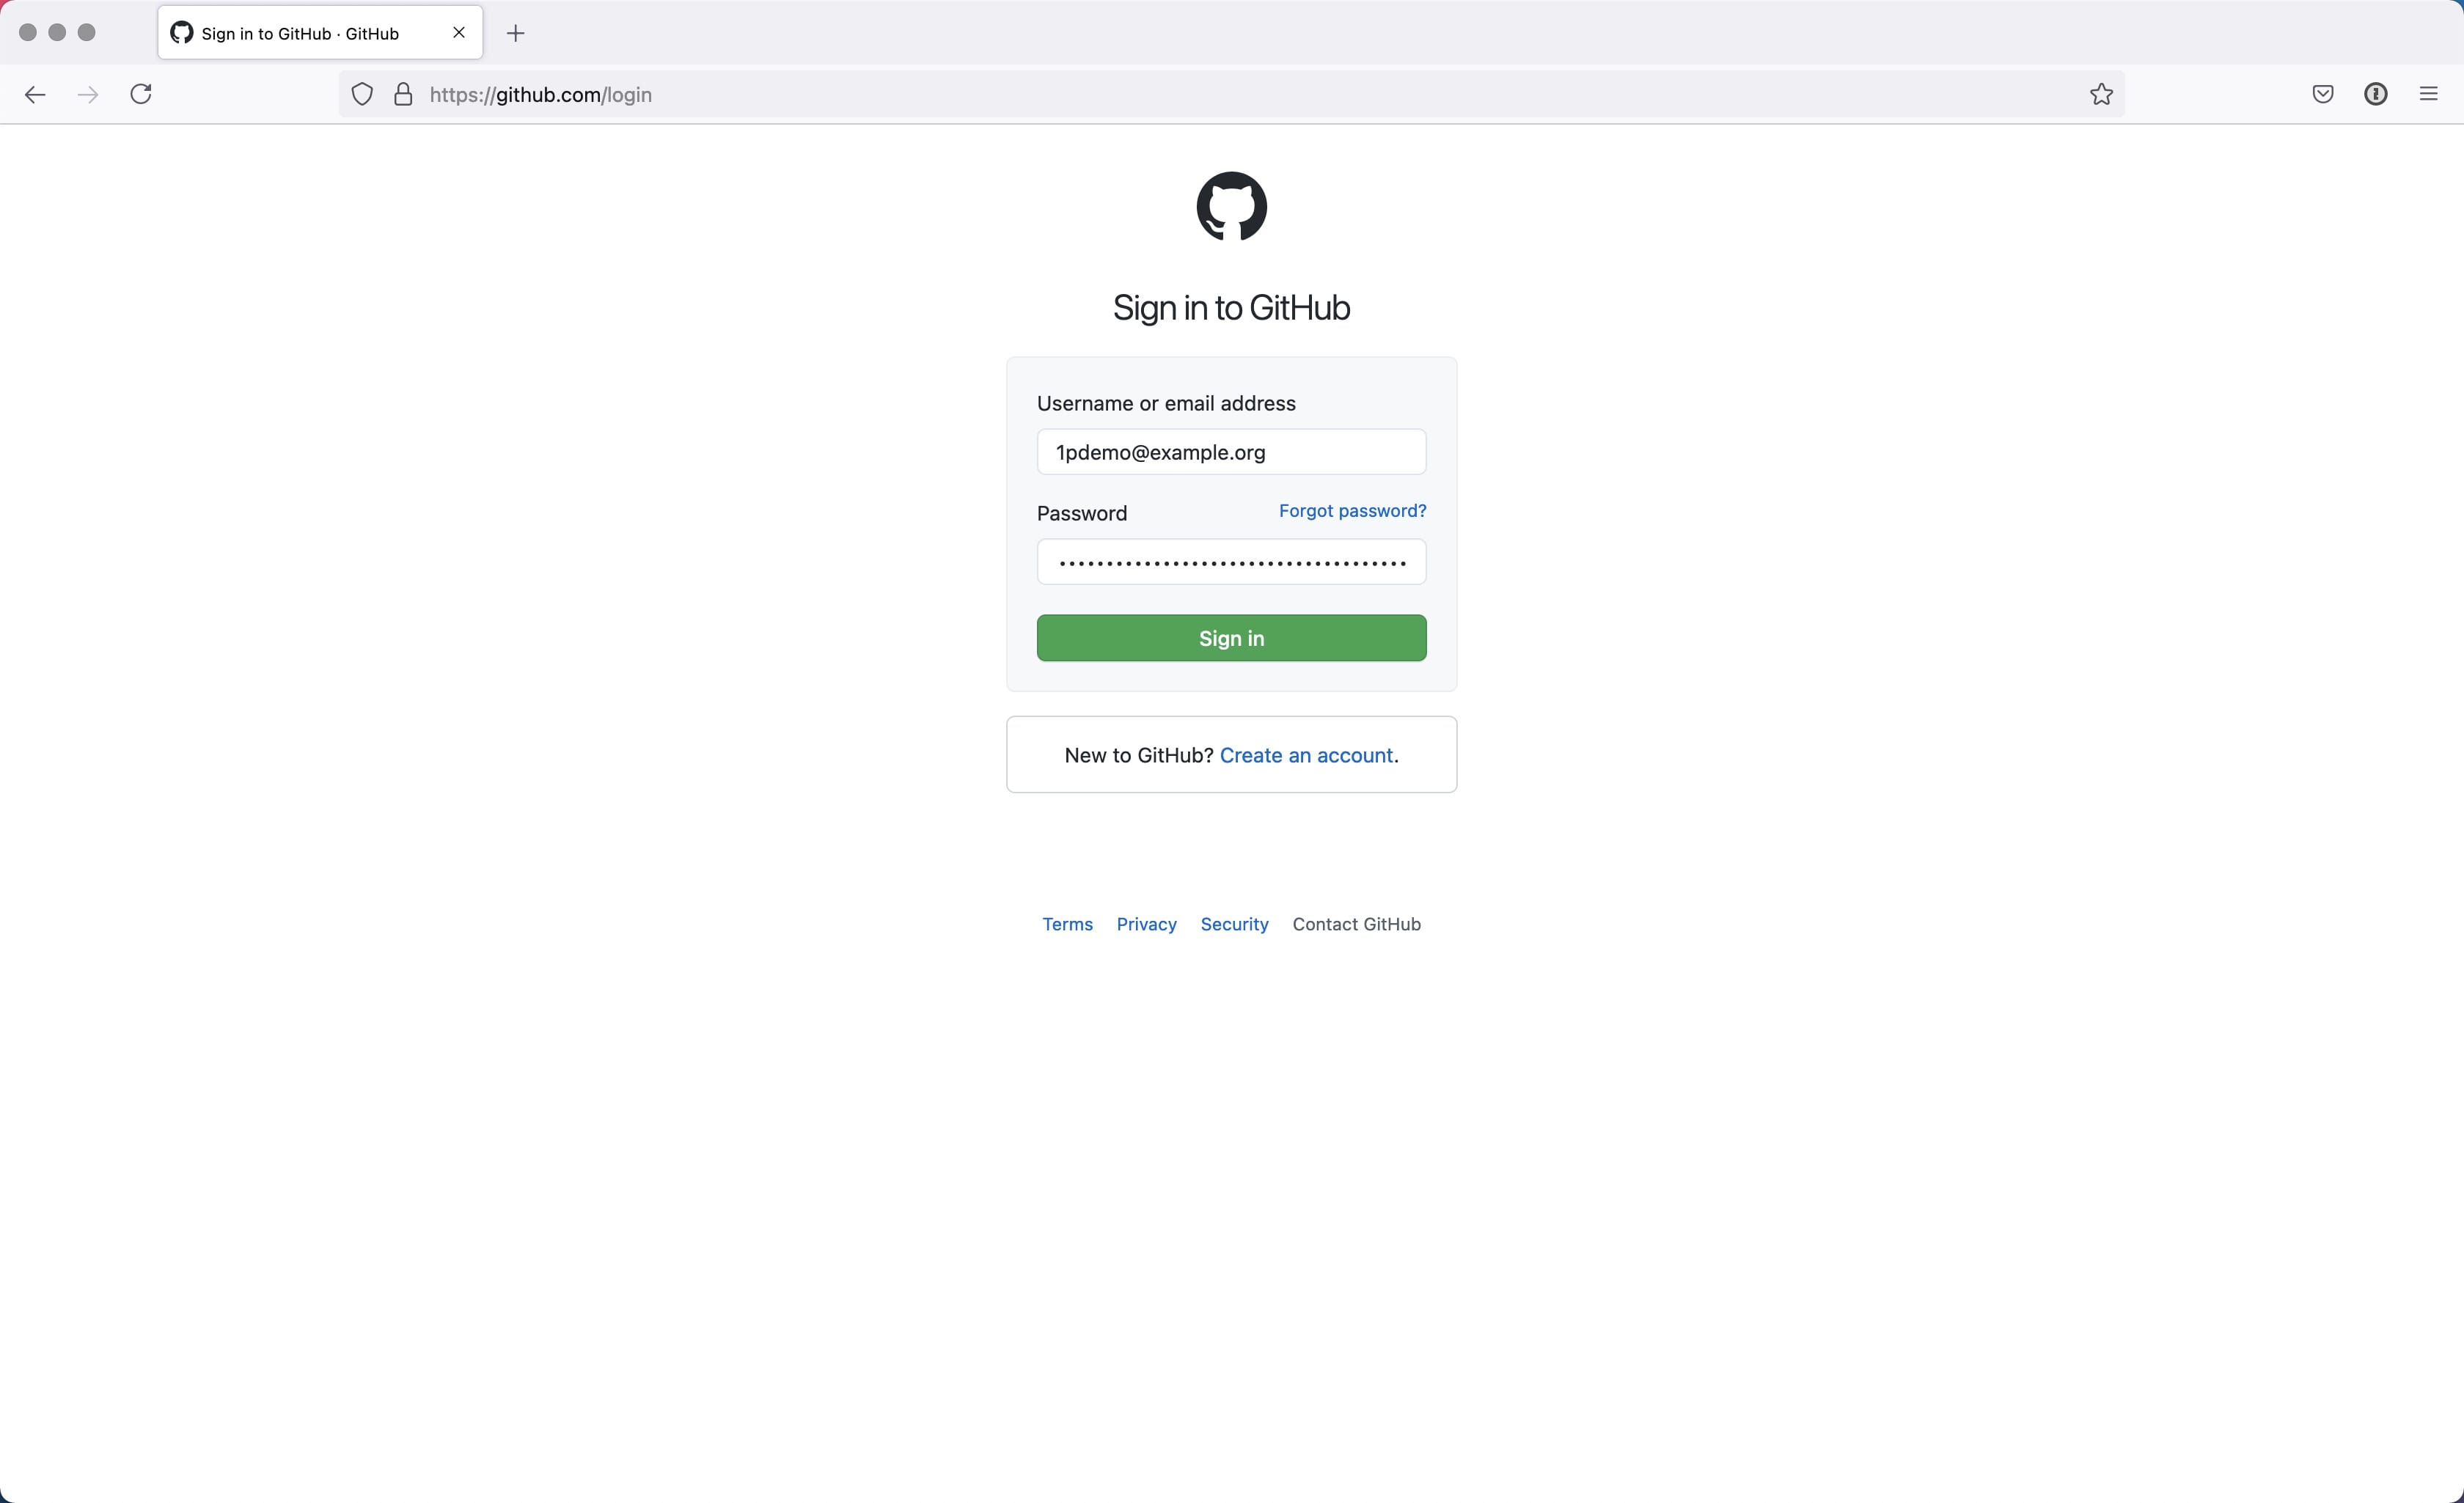
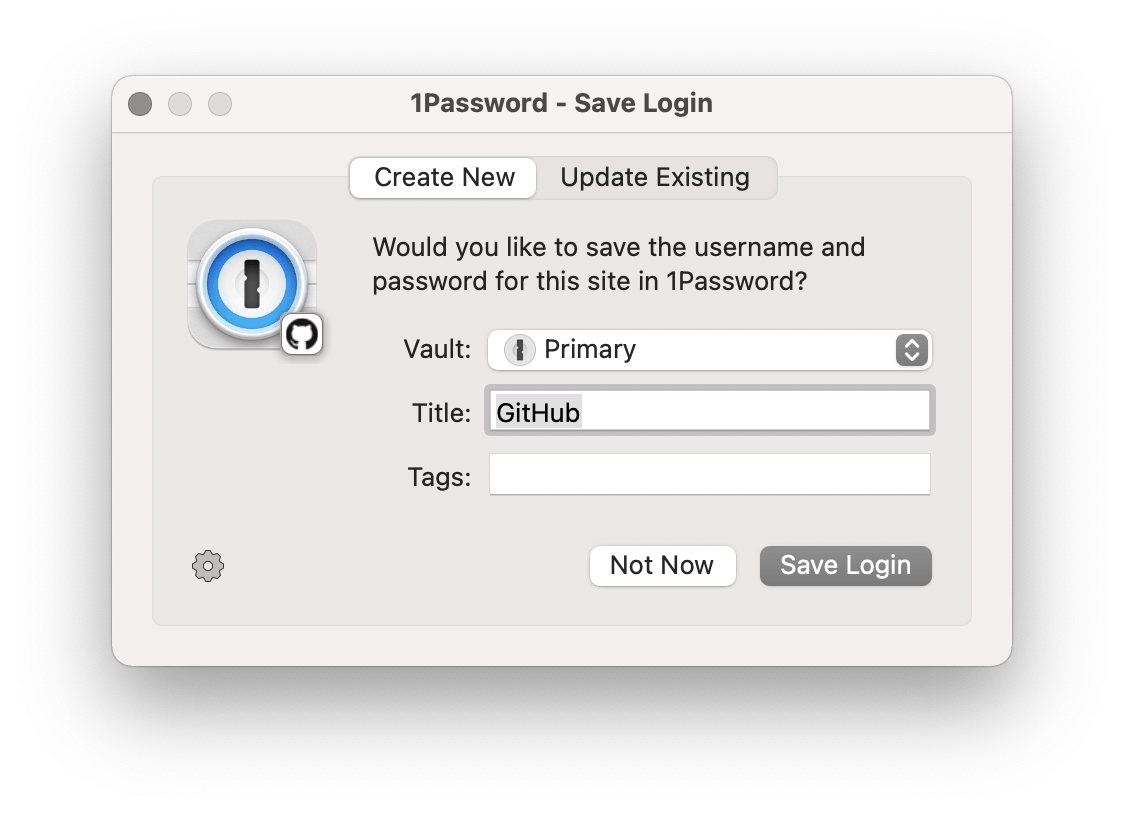
With the odd exception of poorly built sites, you will see a dialog from 1Password asking if you’d like to save the login information. Click “Save Login”.
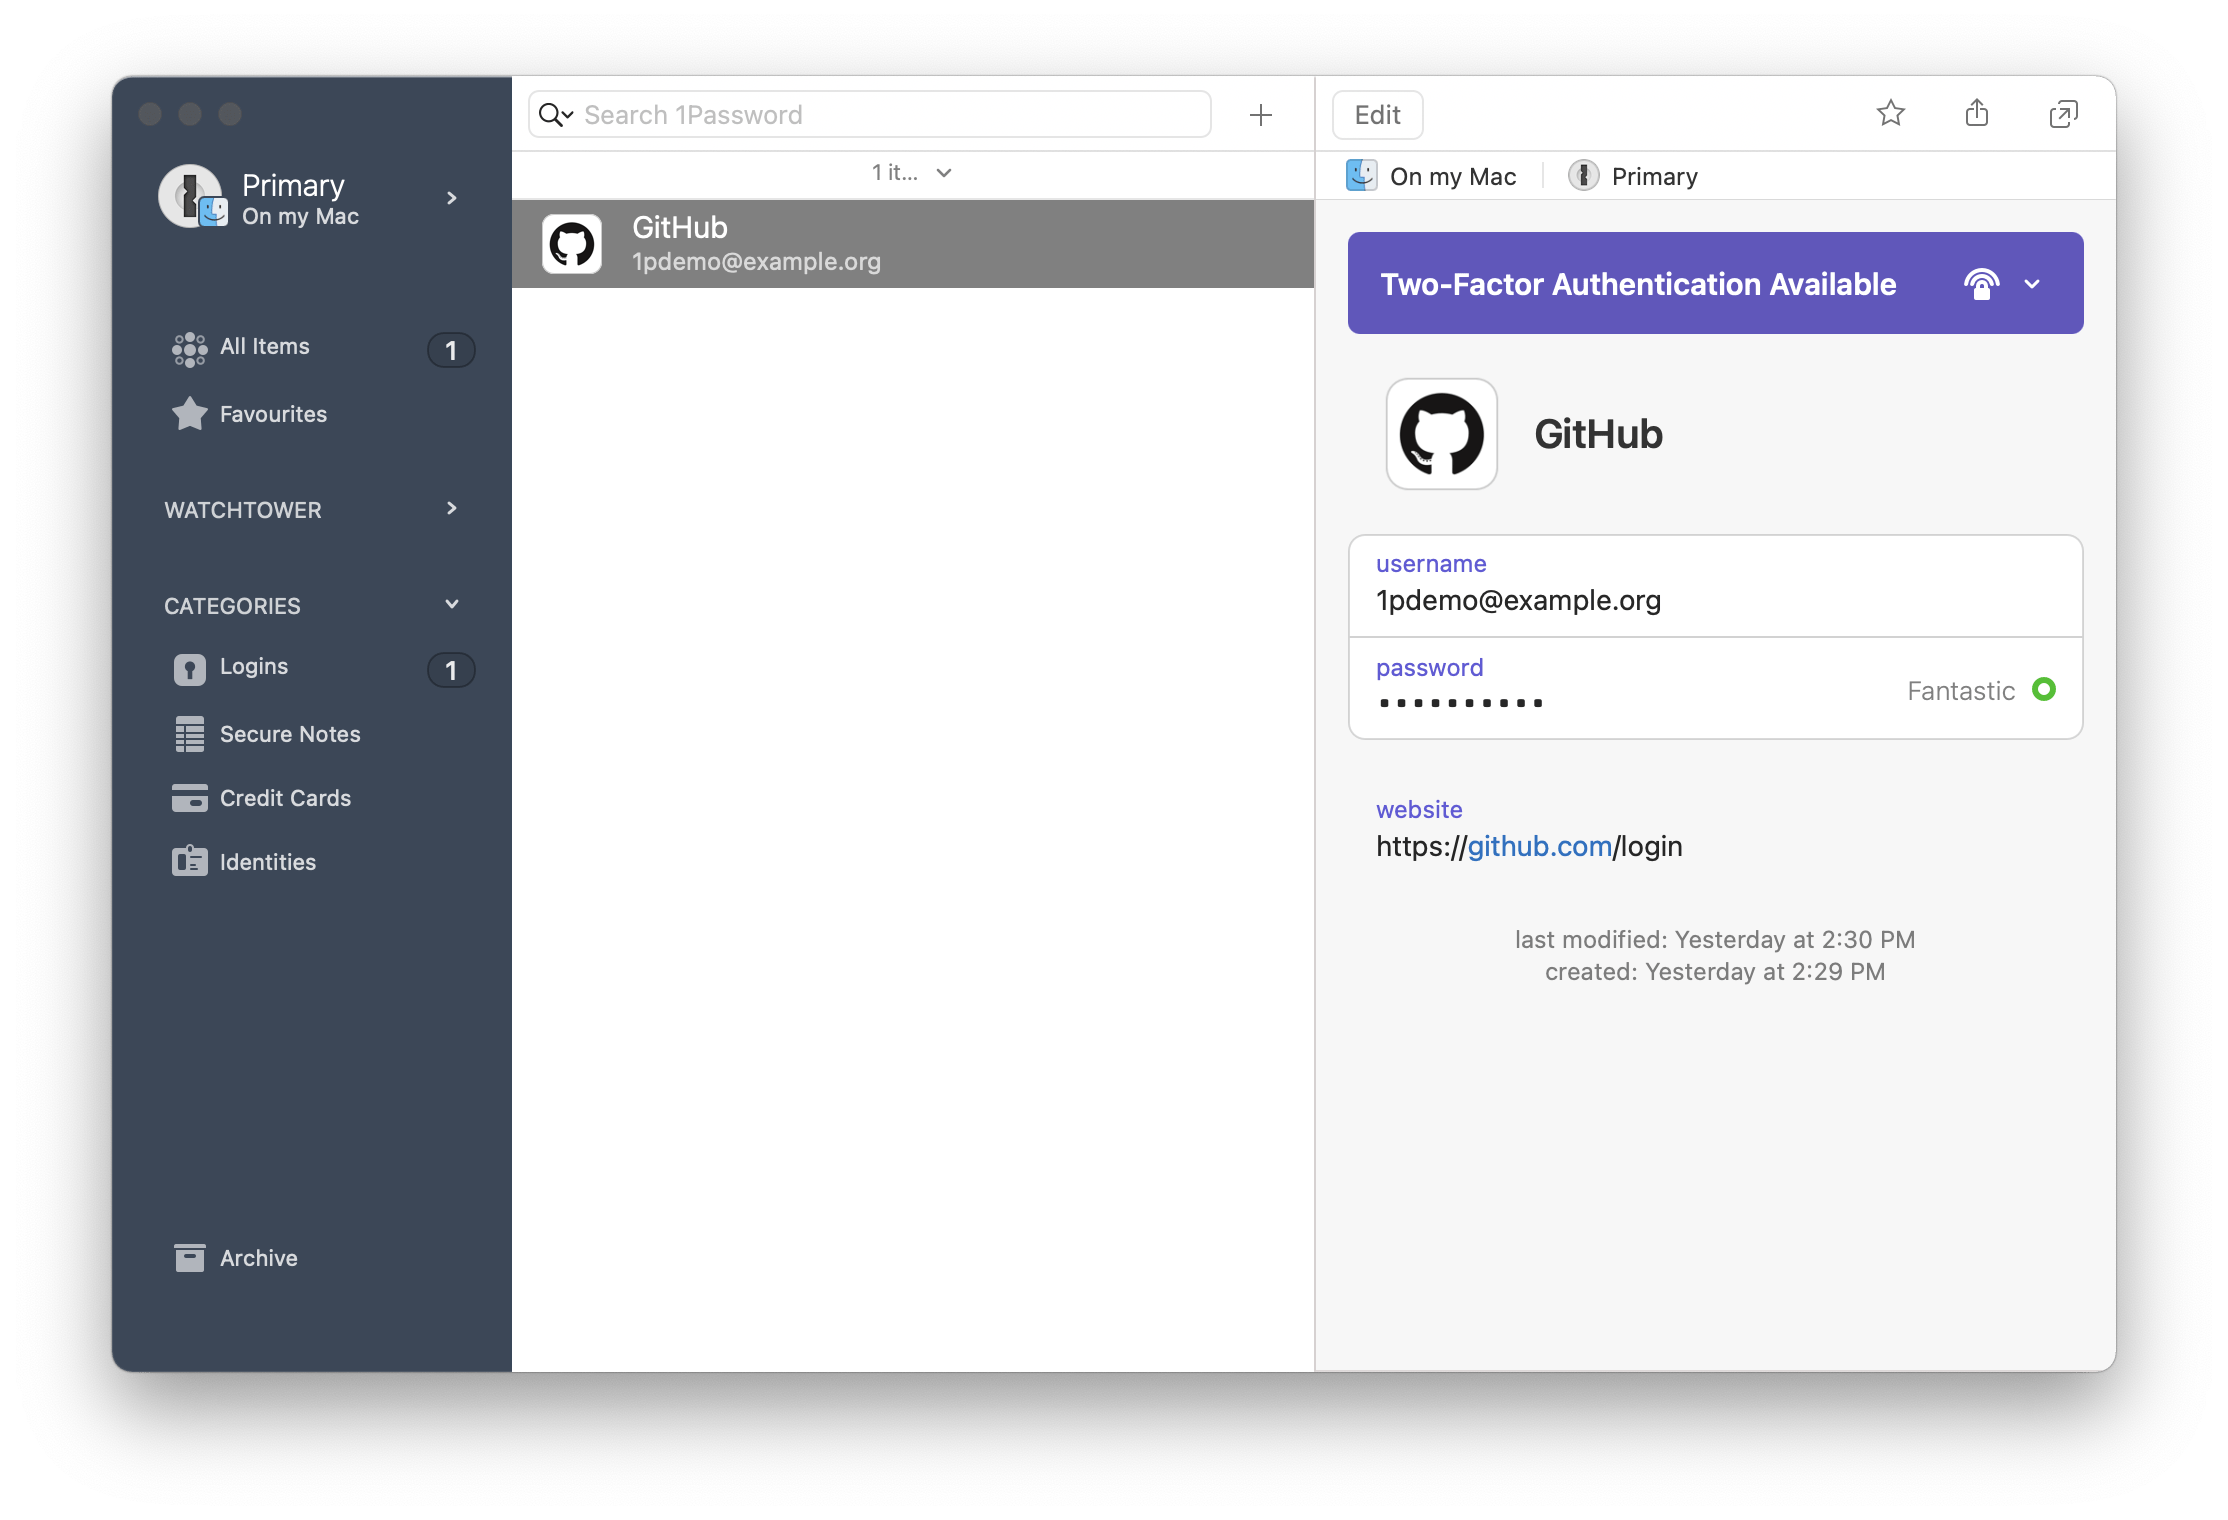
If you switch back to 1Password you will see a new item in the app (your “notebook”). For each login saved in 1Password via the web browser extension as we just did, there are a few key pieces of data.
- Name - Extracted from the title of the website
- Logo - Extracted from the website’s icon
- Username - What you entered into the login form
- Password - What you entered into the login form
- Website - Extracted from the browser address bar
Again, you could have entered all this manually but using the browser extension populated all this information for us automatically.
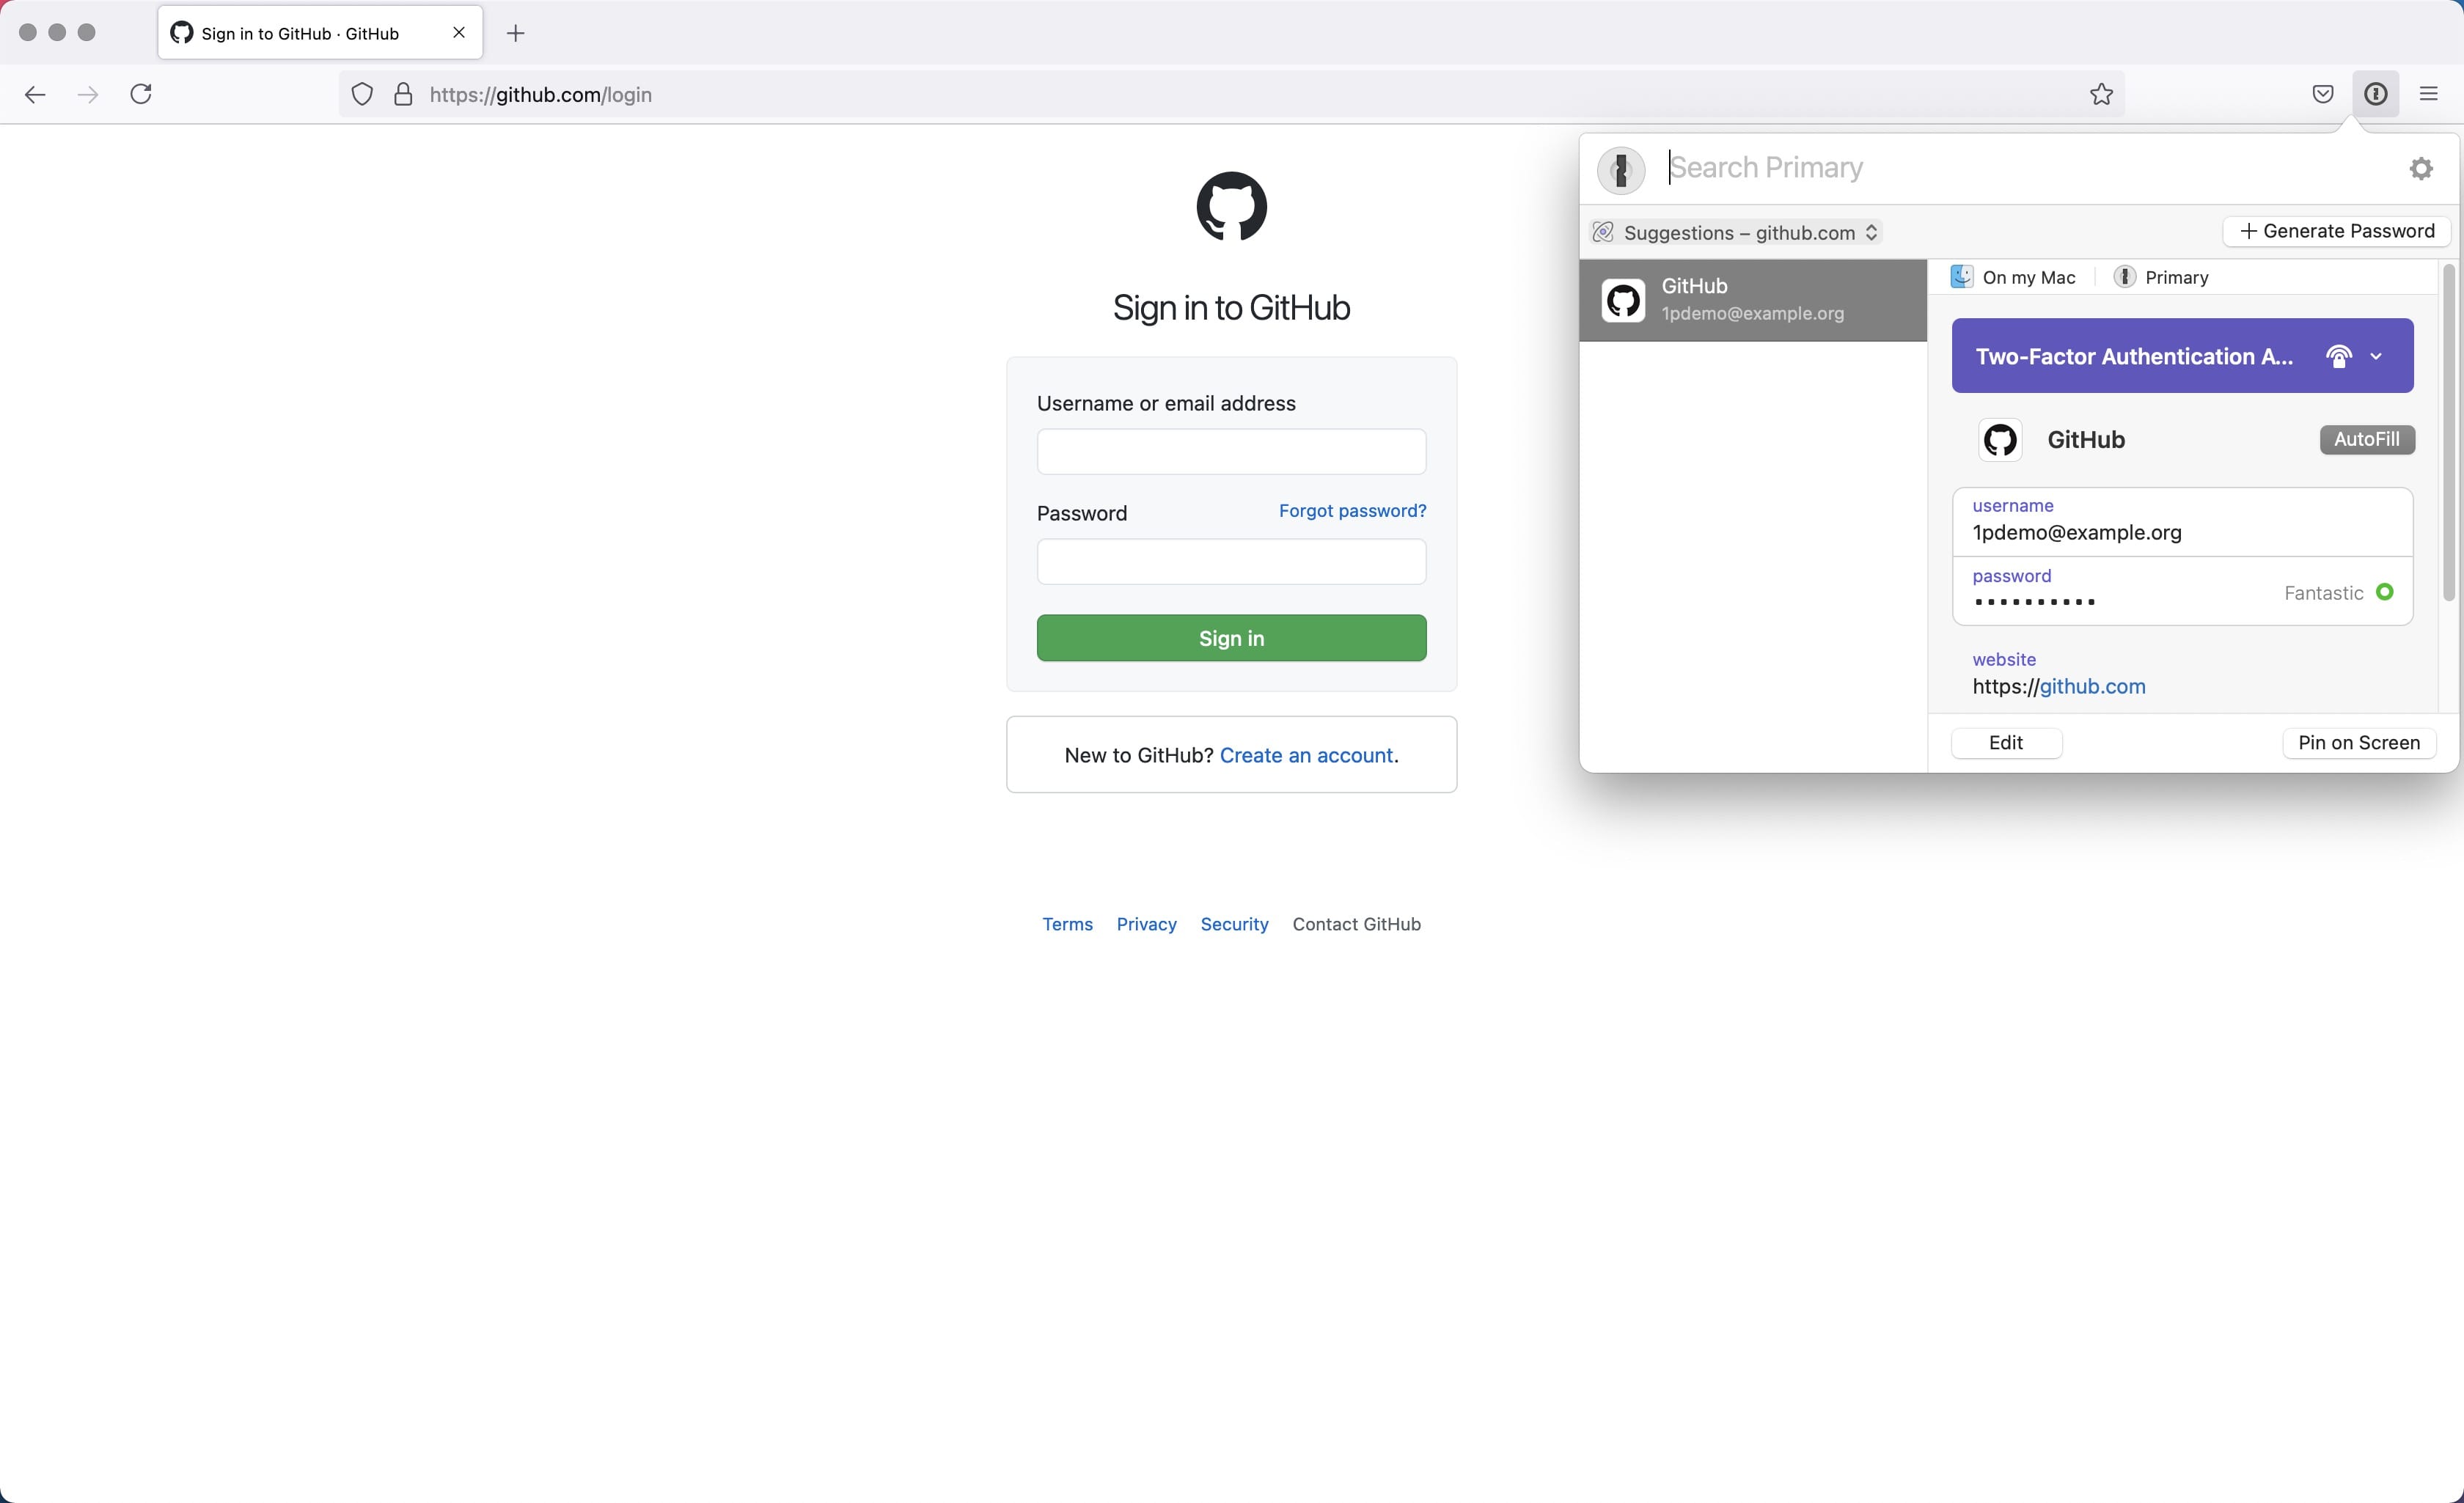
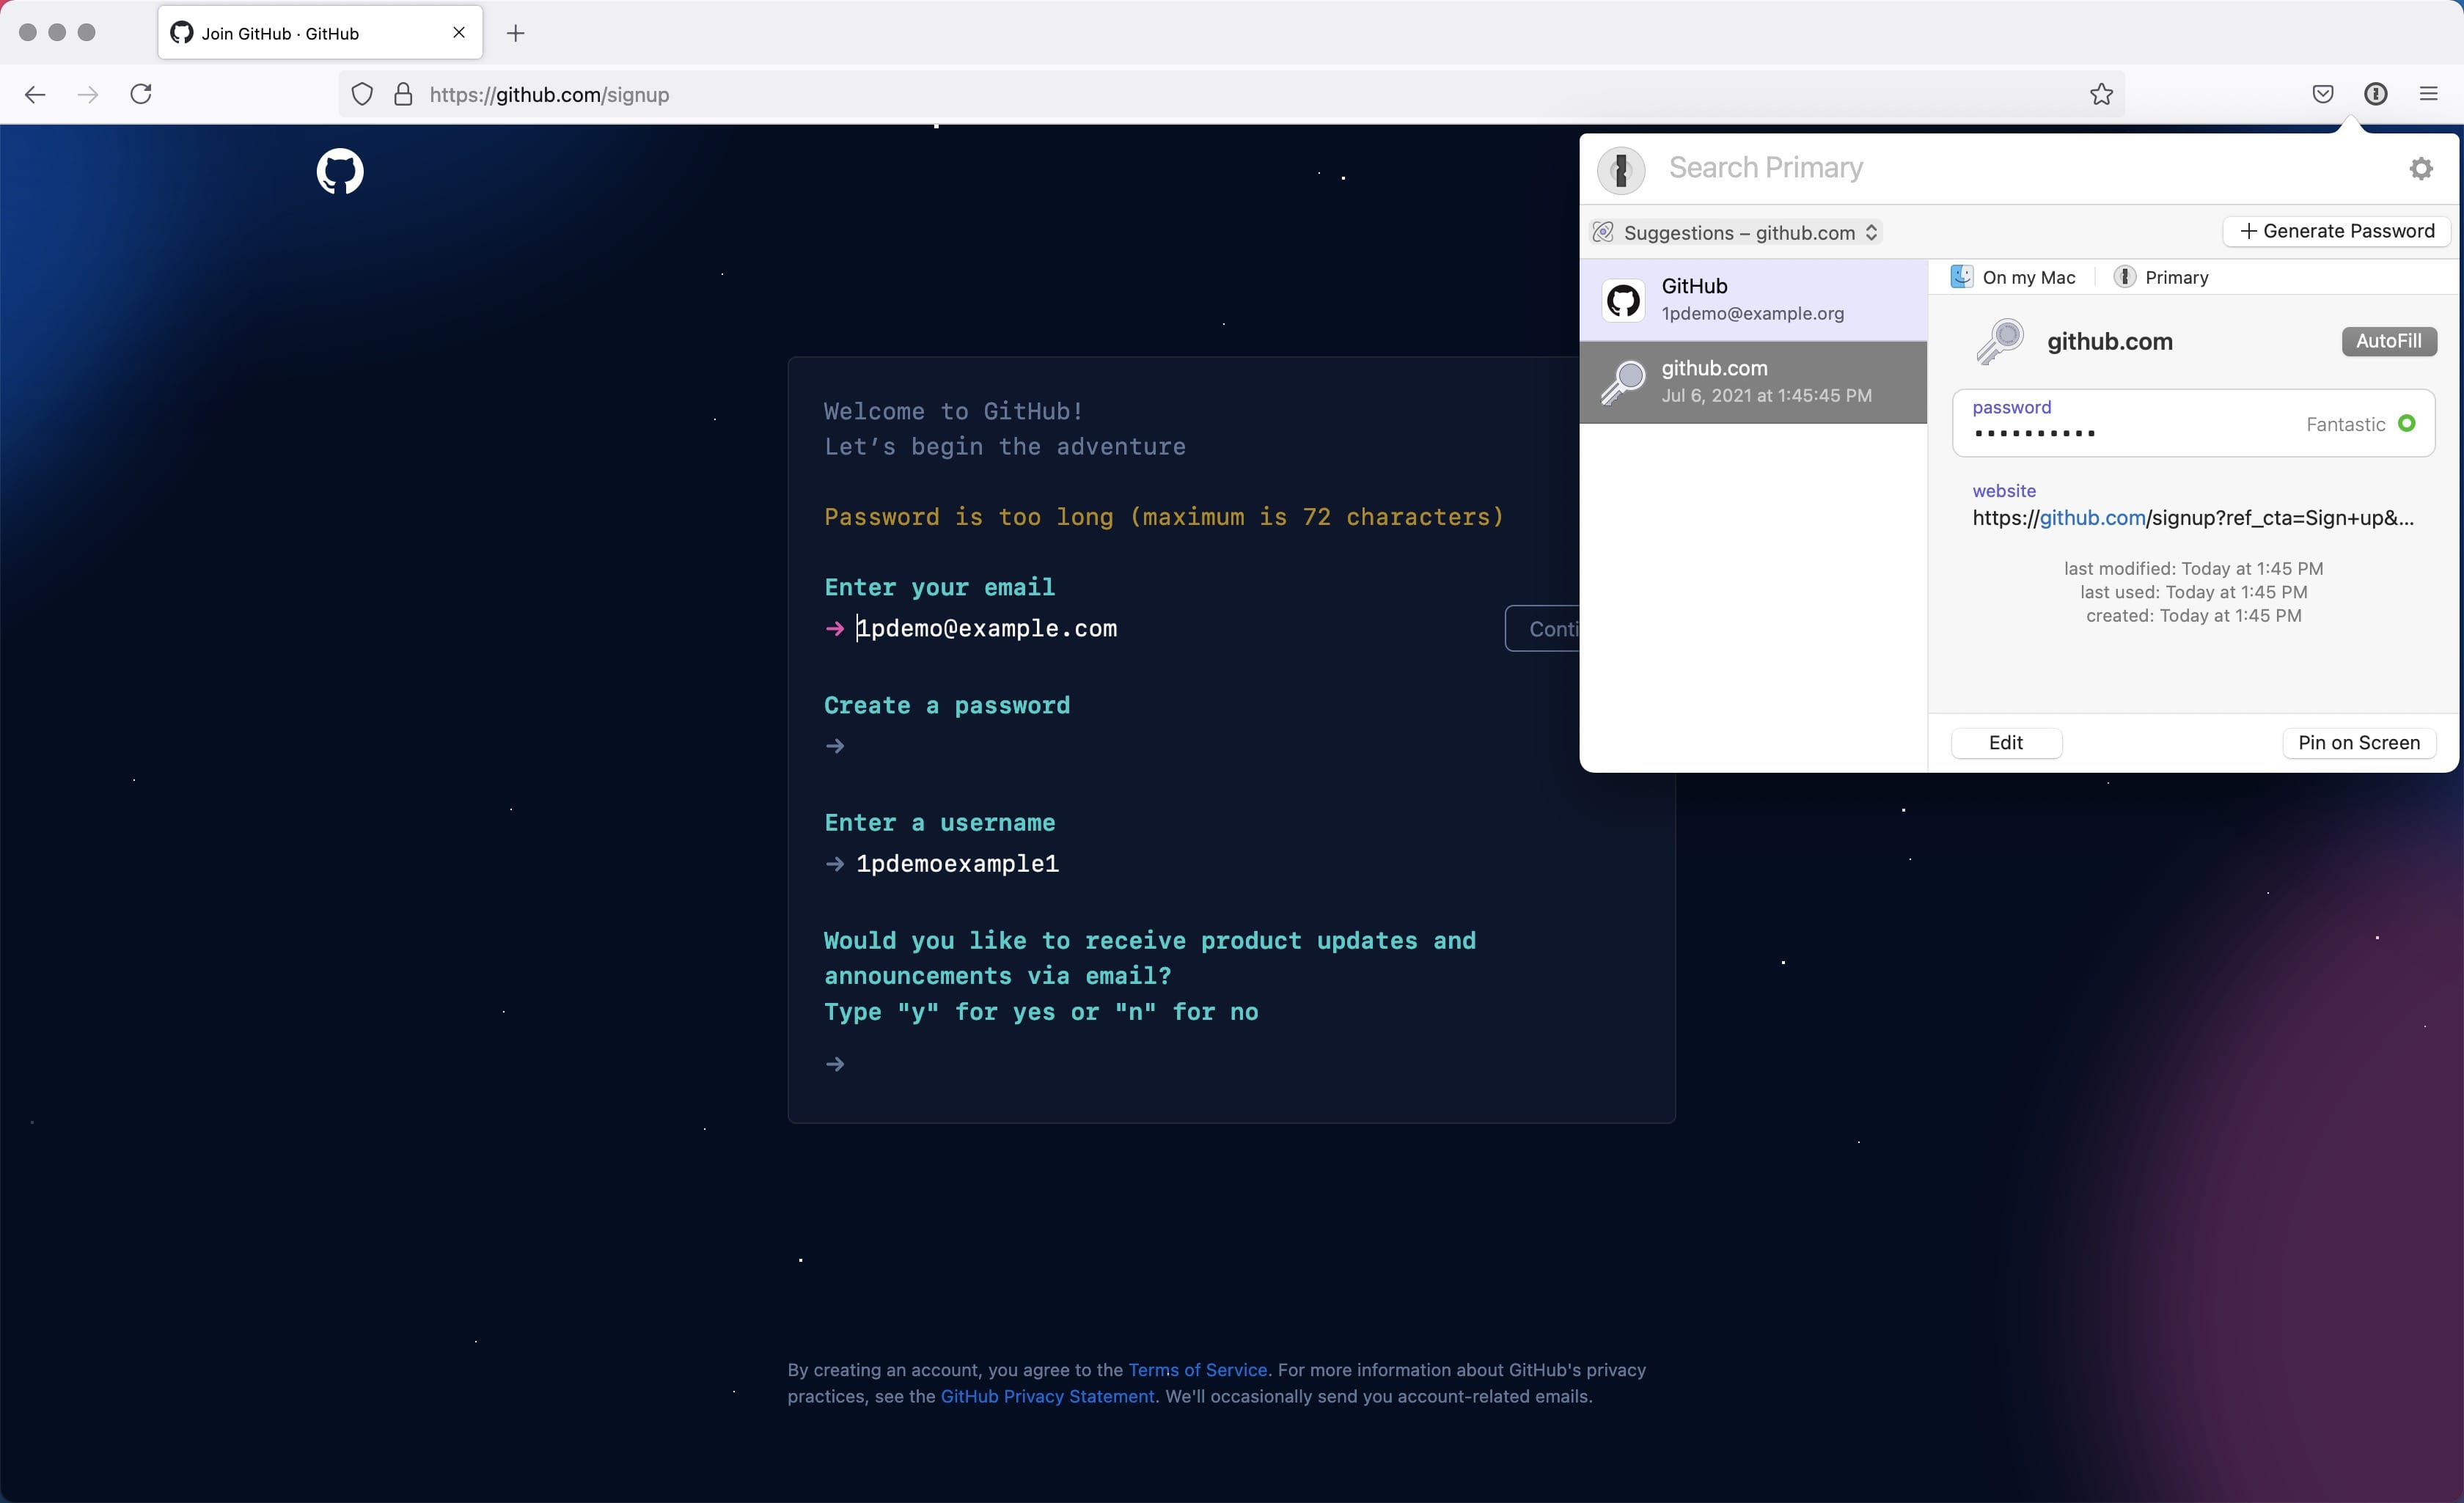
Now go back to the website, logout, visit the login page again, and click the 1Password extension icon in your browser’s extension bar.
The extension will automatically display any (and more importantly, only) logins you have stored in 1Password whose website property matches the website you are currently on. This will help prevent phishing attacks that attempt to trick you into entering your login information on, for example, a fake clbc.com site that looks identical to the real cibc.com site.
From here doing any one of double clicking the item in the list, clicking “AutoFill”, or hitting your return key will populate the login form so all you have to do is click the login button.

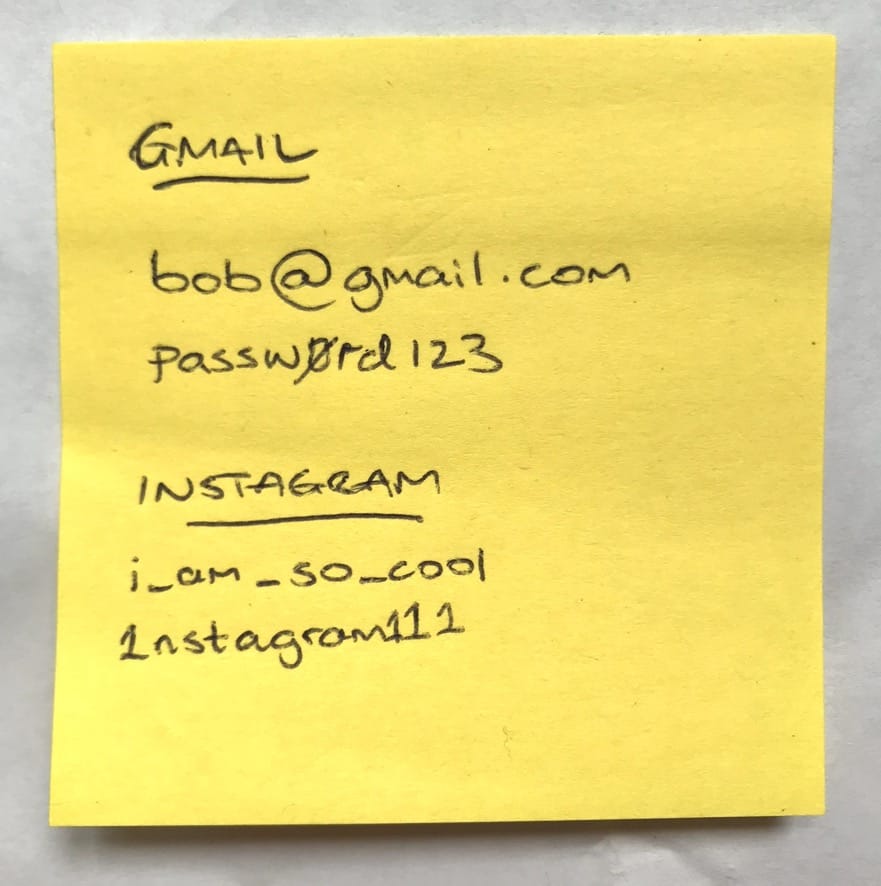
Once you have logged into all of your accounts and saved them in your password manager, you can move onto the next step - changing your passwords for all your accounts from password123 to secure passwords that are randomly generated and unique.
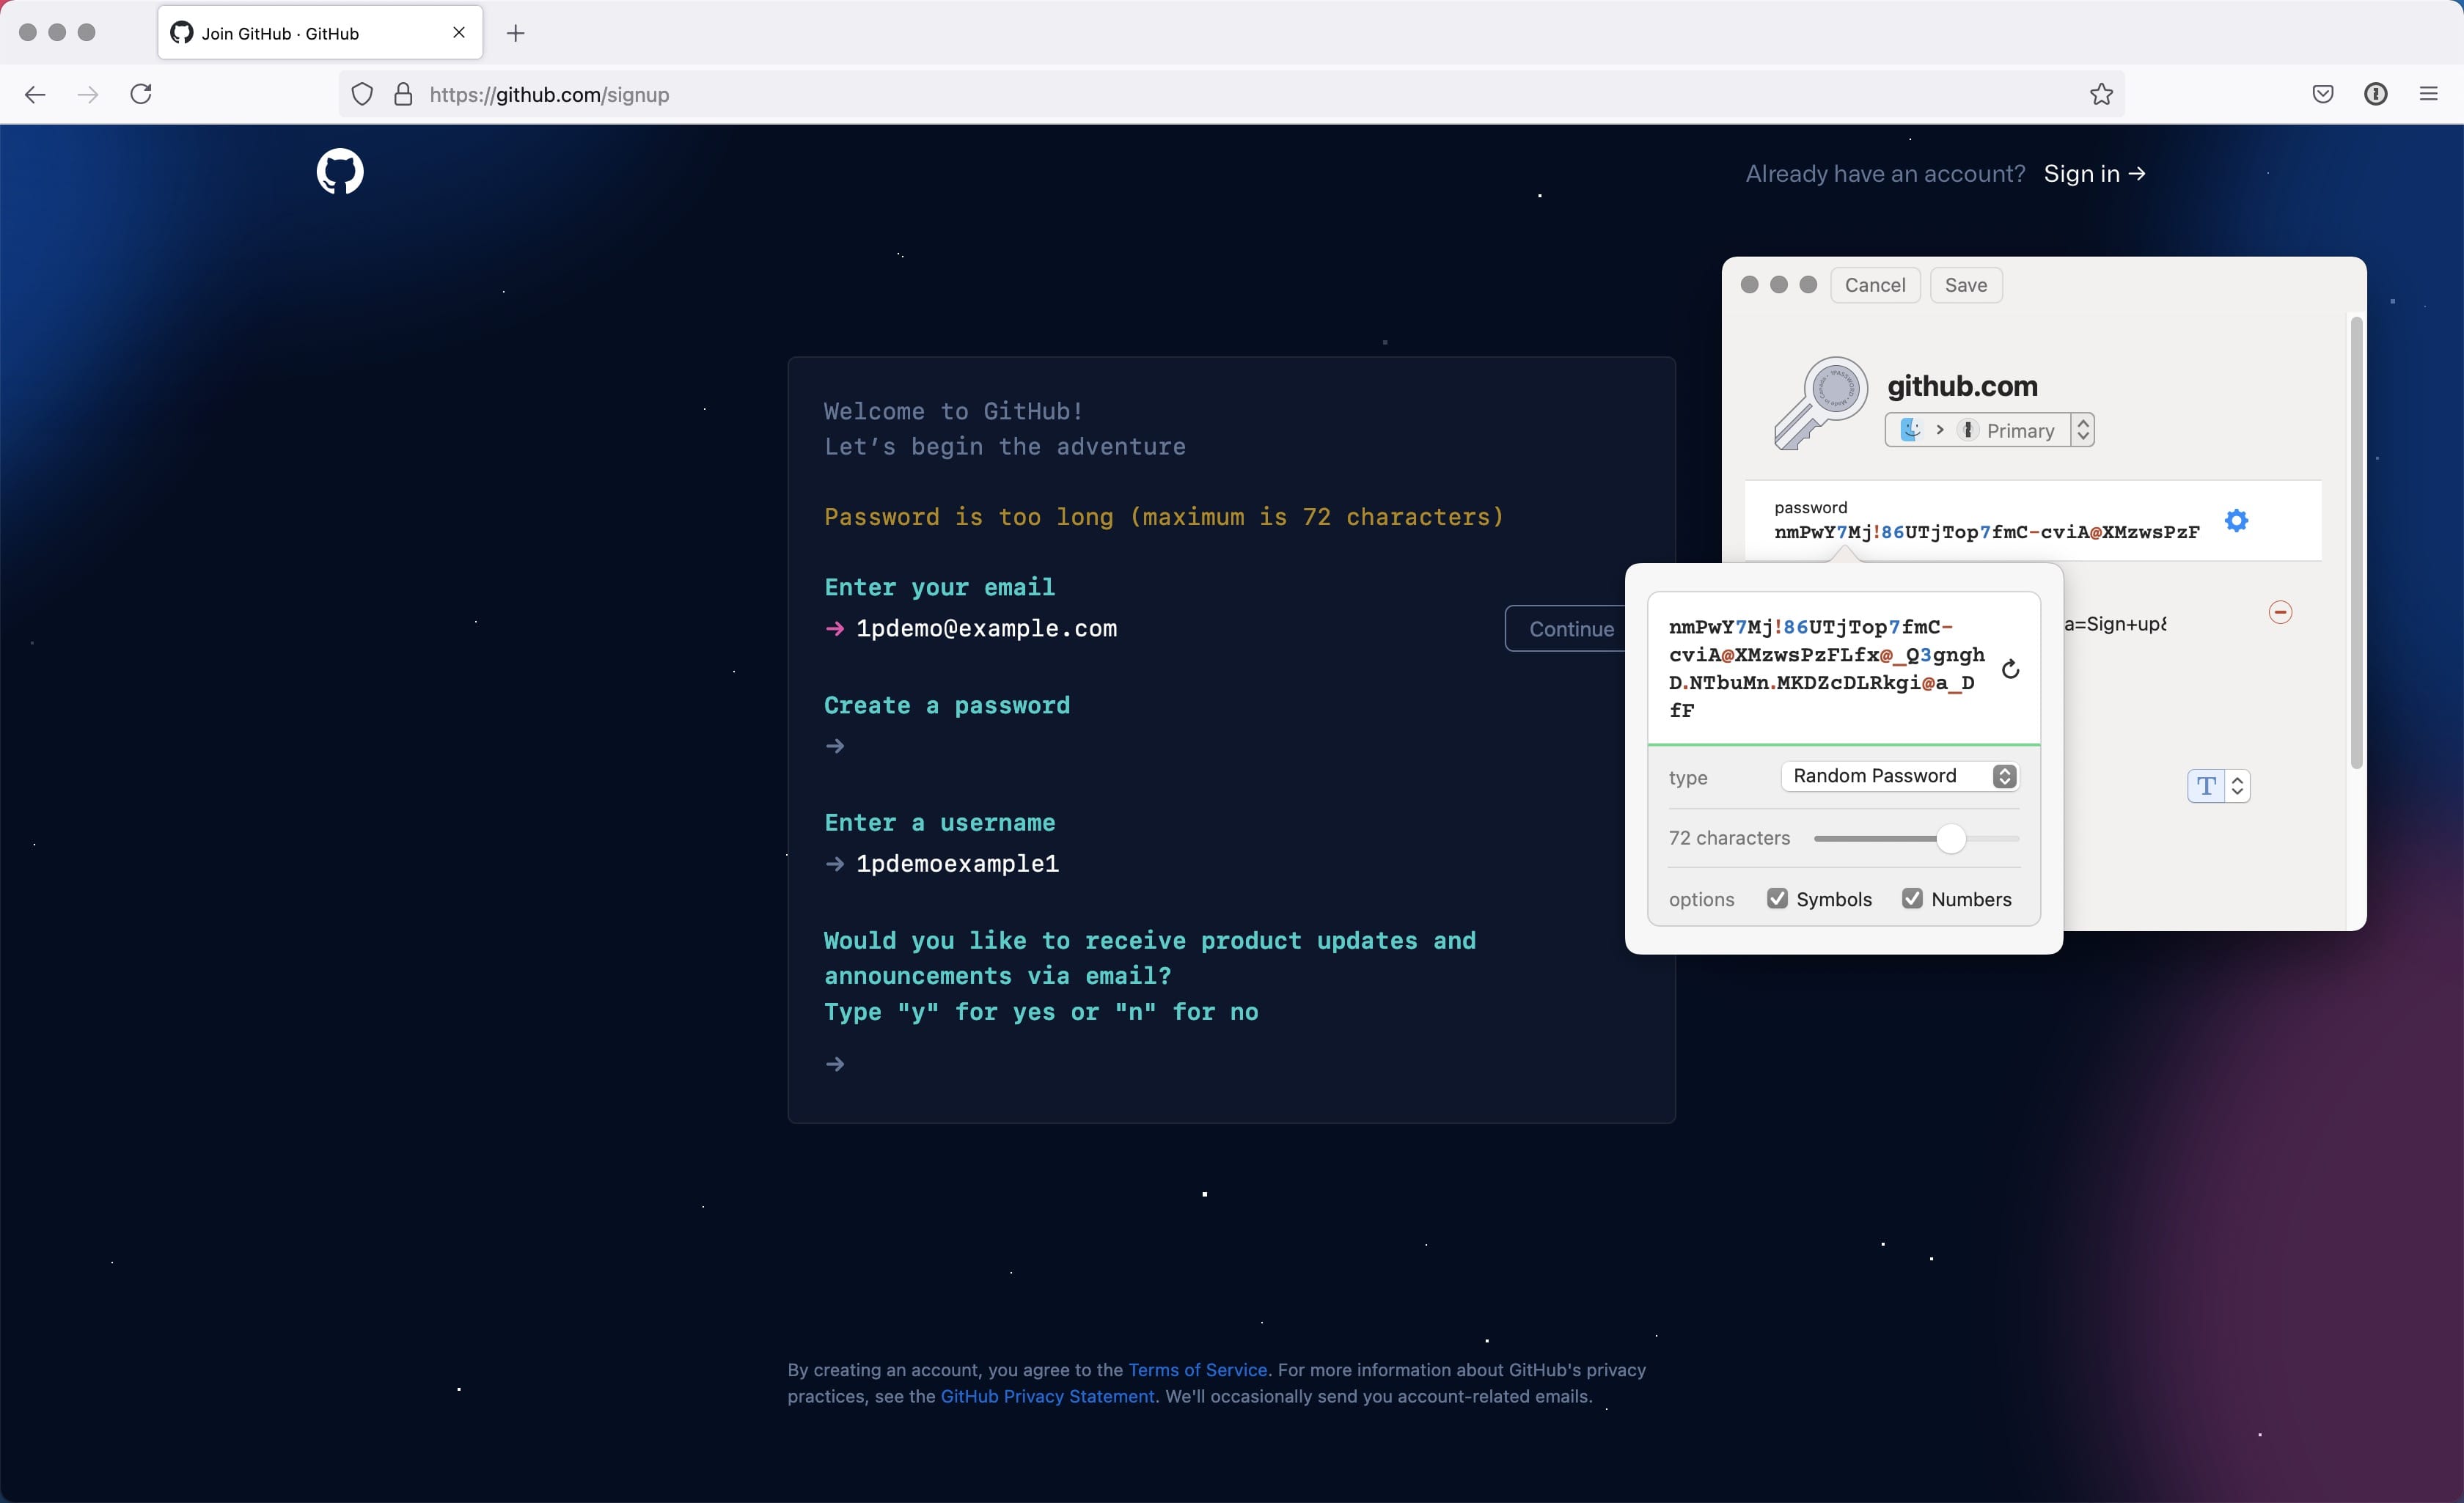
This process works more or less the same for updating existing accounts or creating new ones. Whether you are on a sign up form for a new account or on a “change password” screen in an existing account, click the 1Password extension icon in your browser’s extension bar.
For new accounts, click the “+ Generate Password” button and set the options that match the password requirements of the site you are on.
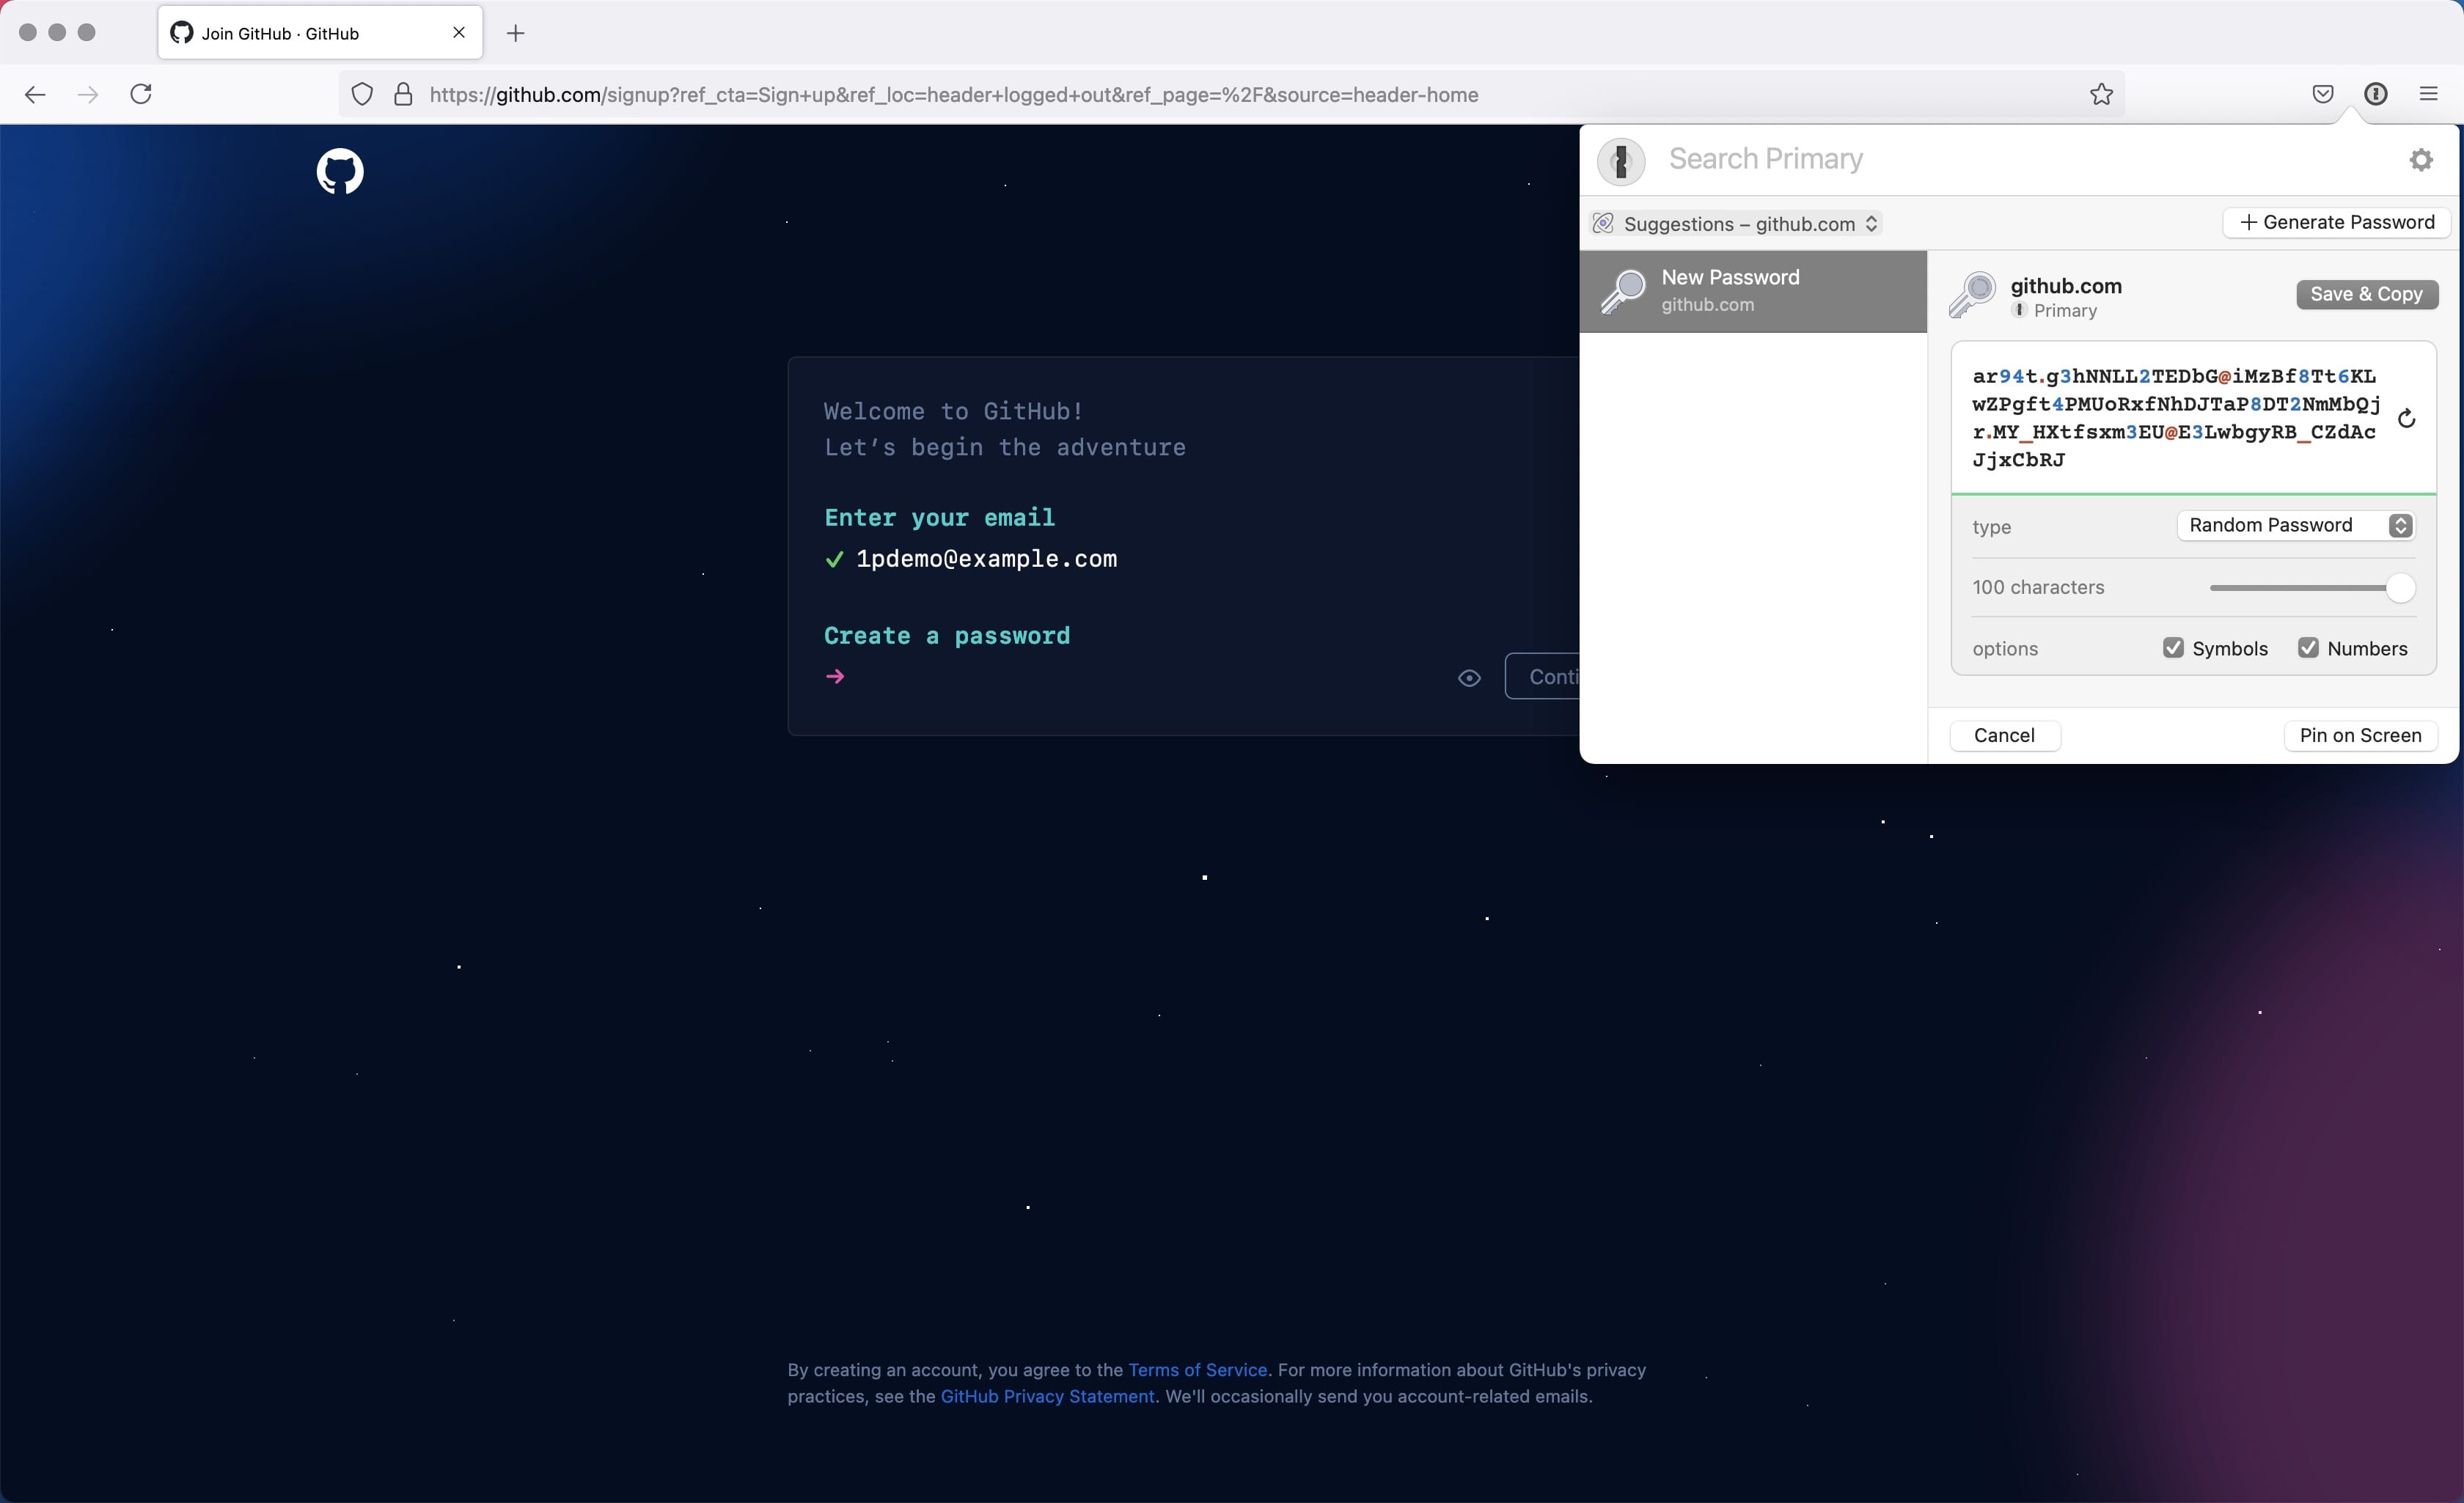
If the site you are on, in its infinite wisdom, doesn’t show you the password requirements until after you’ve submitted the form, you’ll just have to repeat the process and meet their requirements the second time.
Click the “edit” button on the previously generated password rather than creating a new one to prevent cluttering up your password manager with unused items.
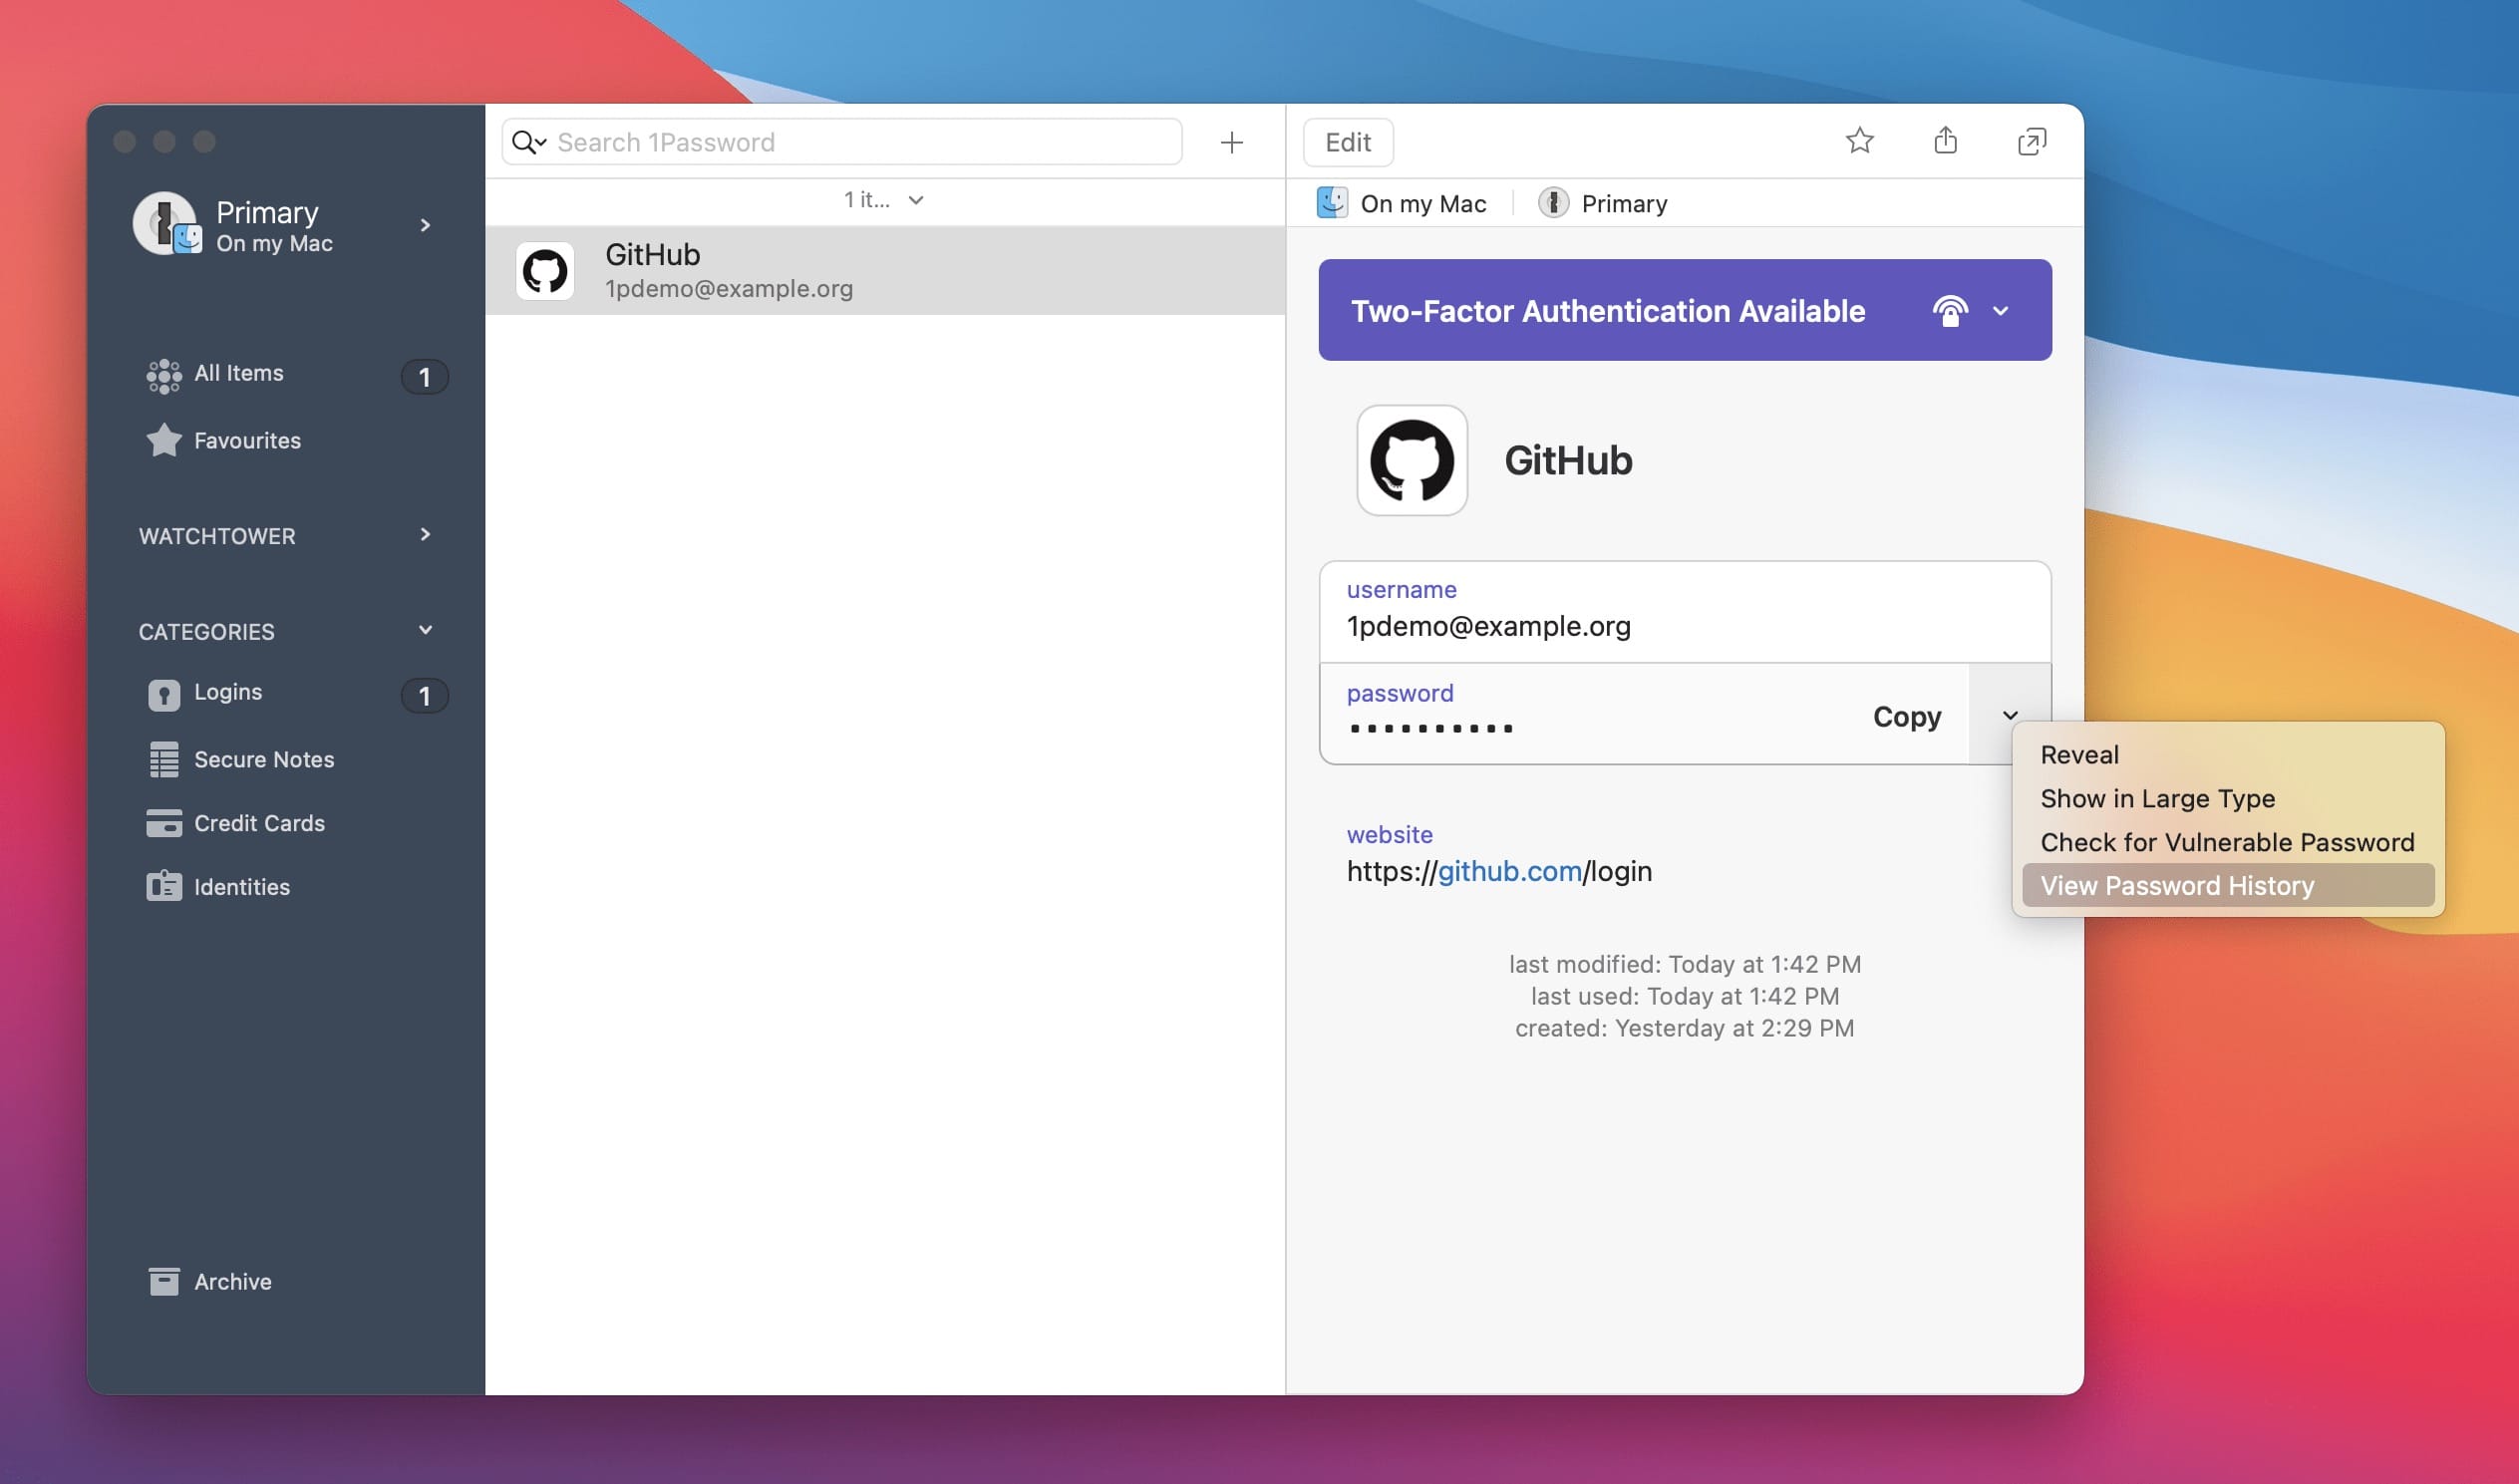
For updating passwords on existing accounts (a “change password” screen), rather than clicking the “+ Generate Password” button, just click the “edit” button on the bottom left of the item then click the cog icon to the right of the password.
It’s not uncommon to mess up a change password process and accidentally lock yourself out of your account because it’s still using the old password but your password manager has the newly generated one saved. Not to worry, you can always retrieve any previous passwords. Just hover over the password field of the item and click the arrow then click “View Password History”.
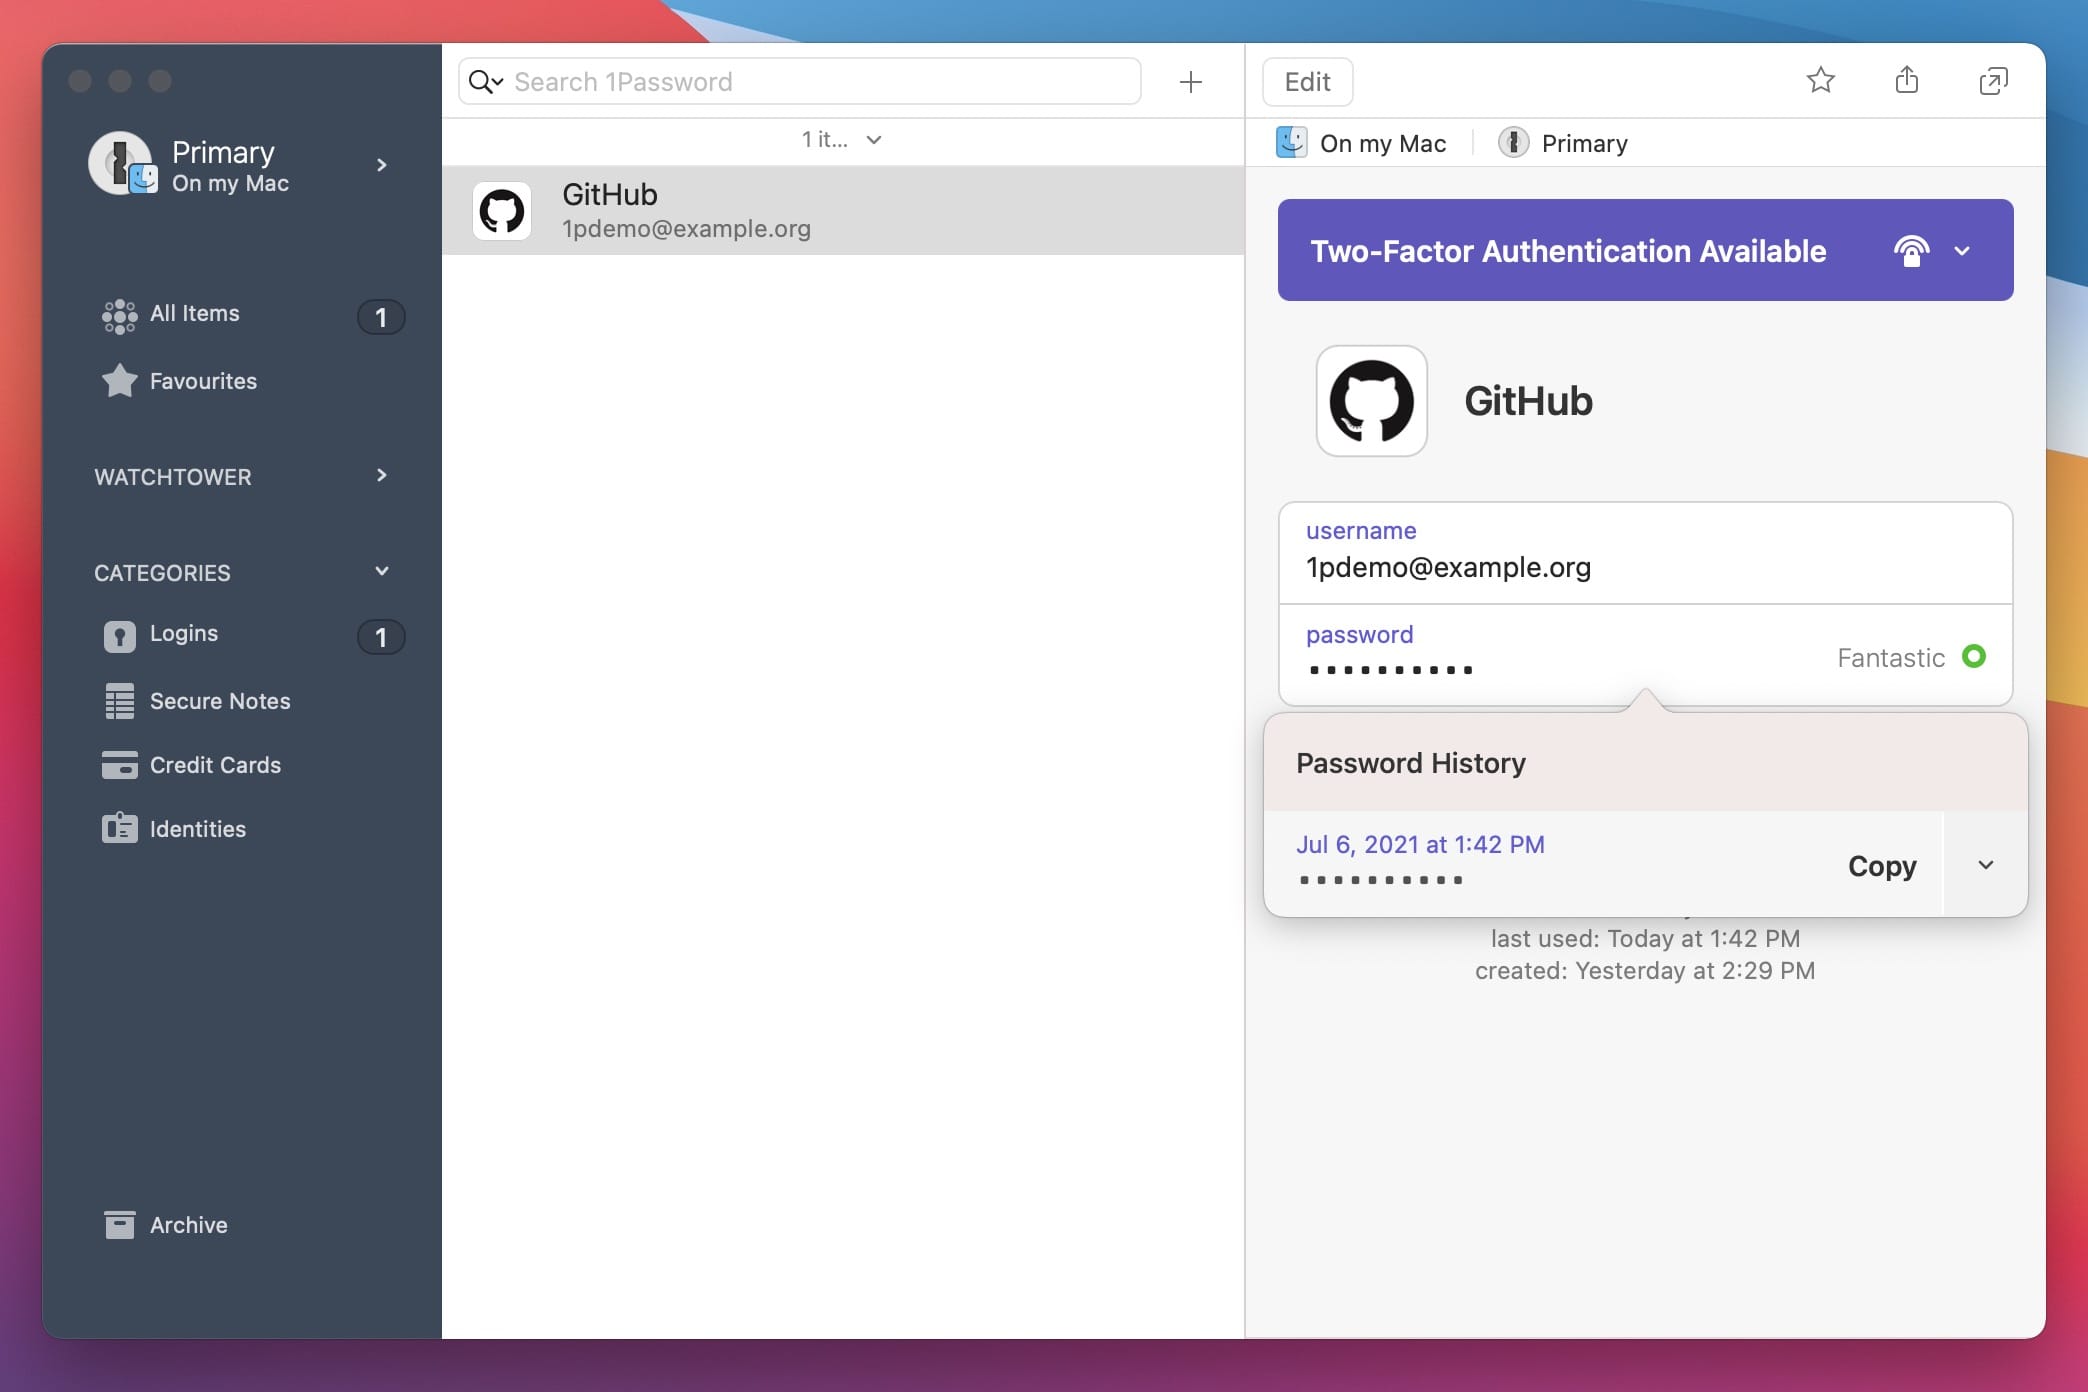
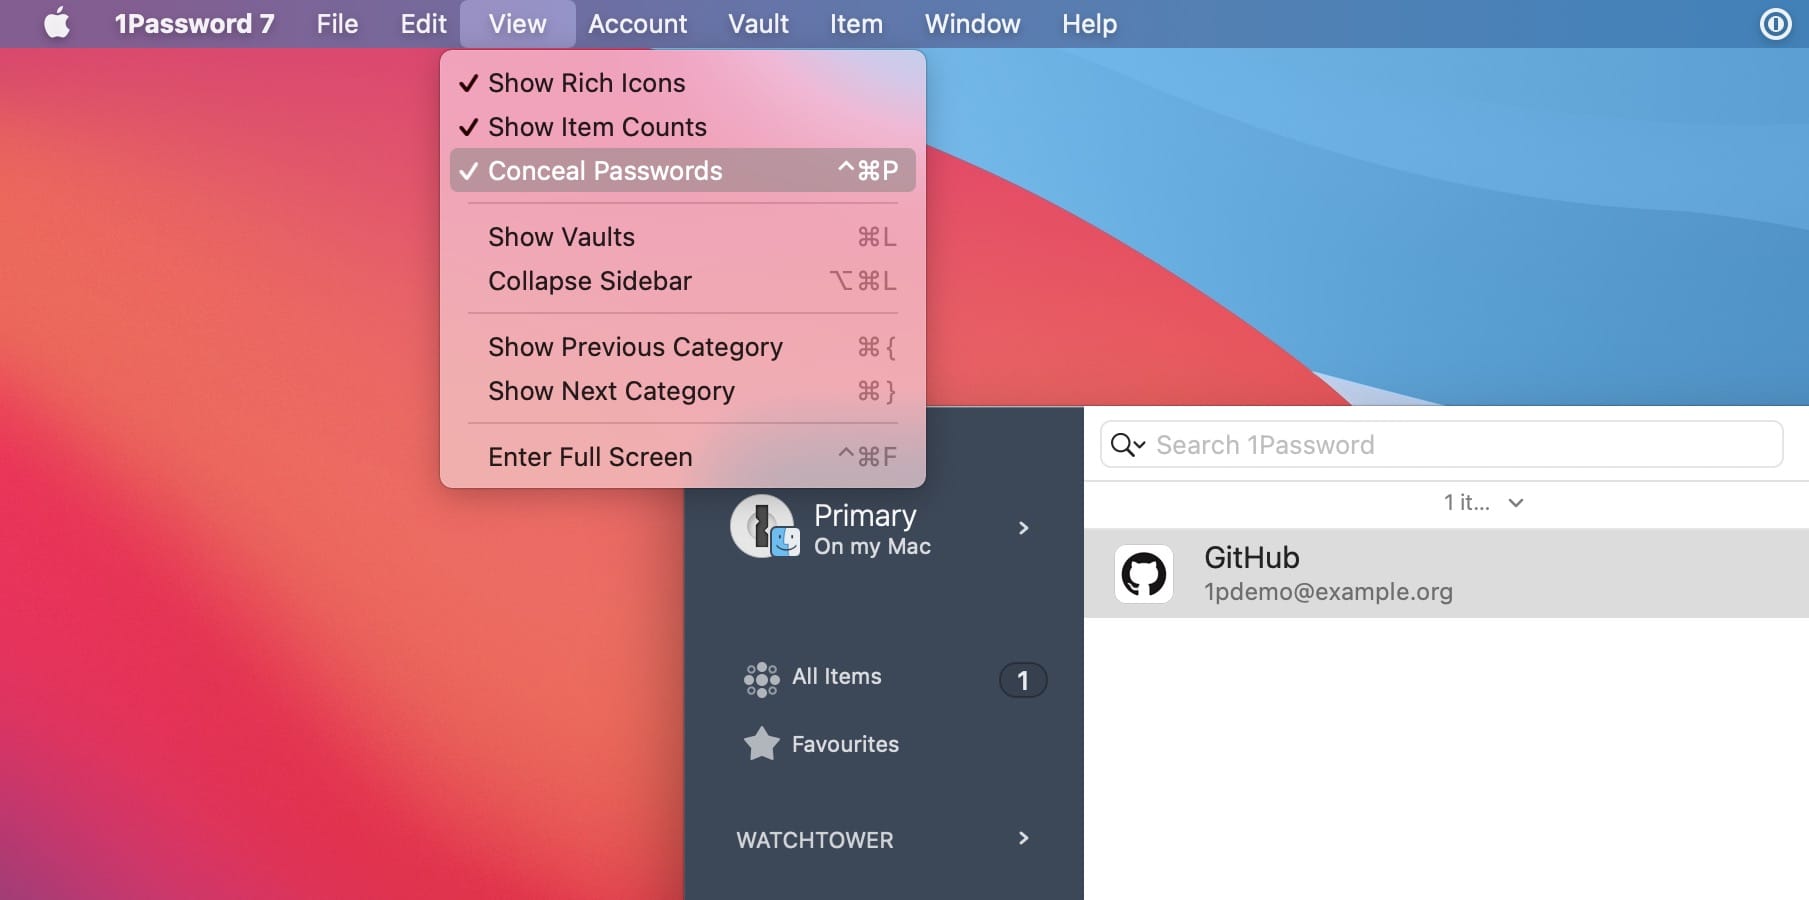
You can view the non-obfuscated password value by holding down the ⌥ (option) key or selecting “Conceal Passwords” which will make the view persist until you select that option again. I would recommend holding the option key down temporarily as it is more secure.
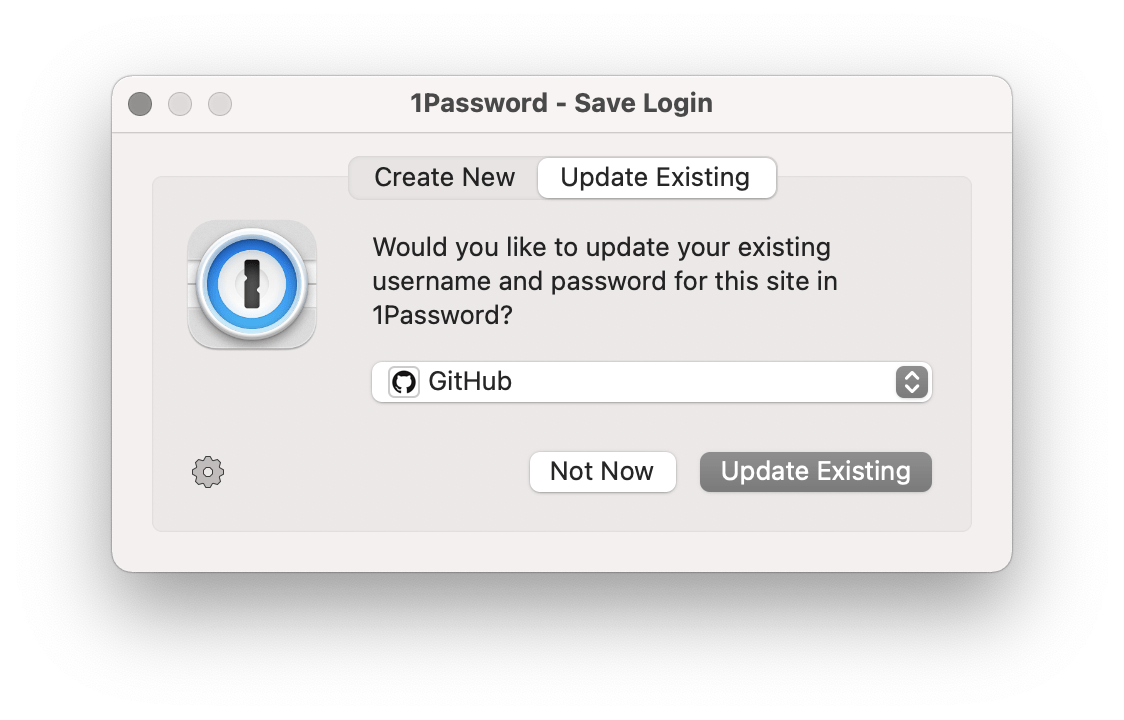
When updating passwords within your accounts that you already have stored in 1Password, you will often be presented with a dialog asking if you want to create a new login (you may have multiple accounts) or update an existing login. Choose the one that fits your situation.
You’re all done! If you haven’t already, you just need to login to all of your accounts repeating this process for each one. Then just save any new accounts you create in your password manager.
The default preferences for 1Password are fine as is but there are a few you may want to adjust. Go to the the “1Password 7” item in your menu bar at the top left of your screen and select “Preferences…” or use the ⌘, (command + comma) keys.
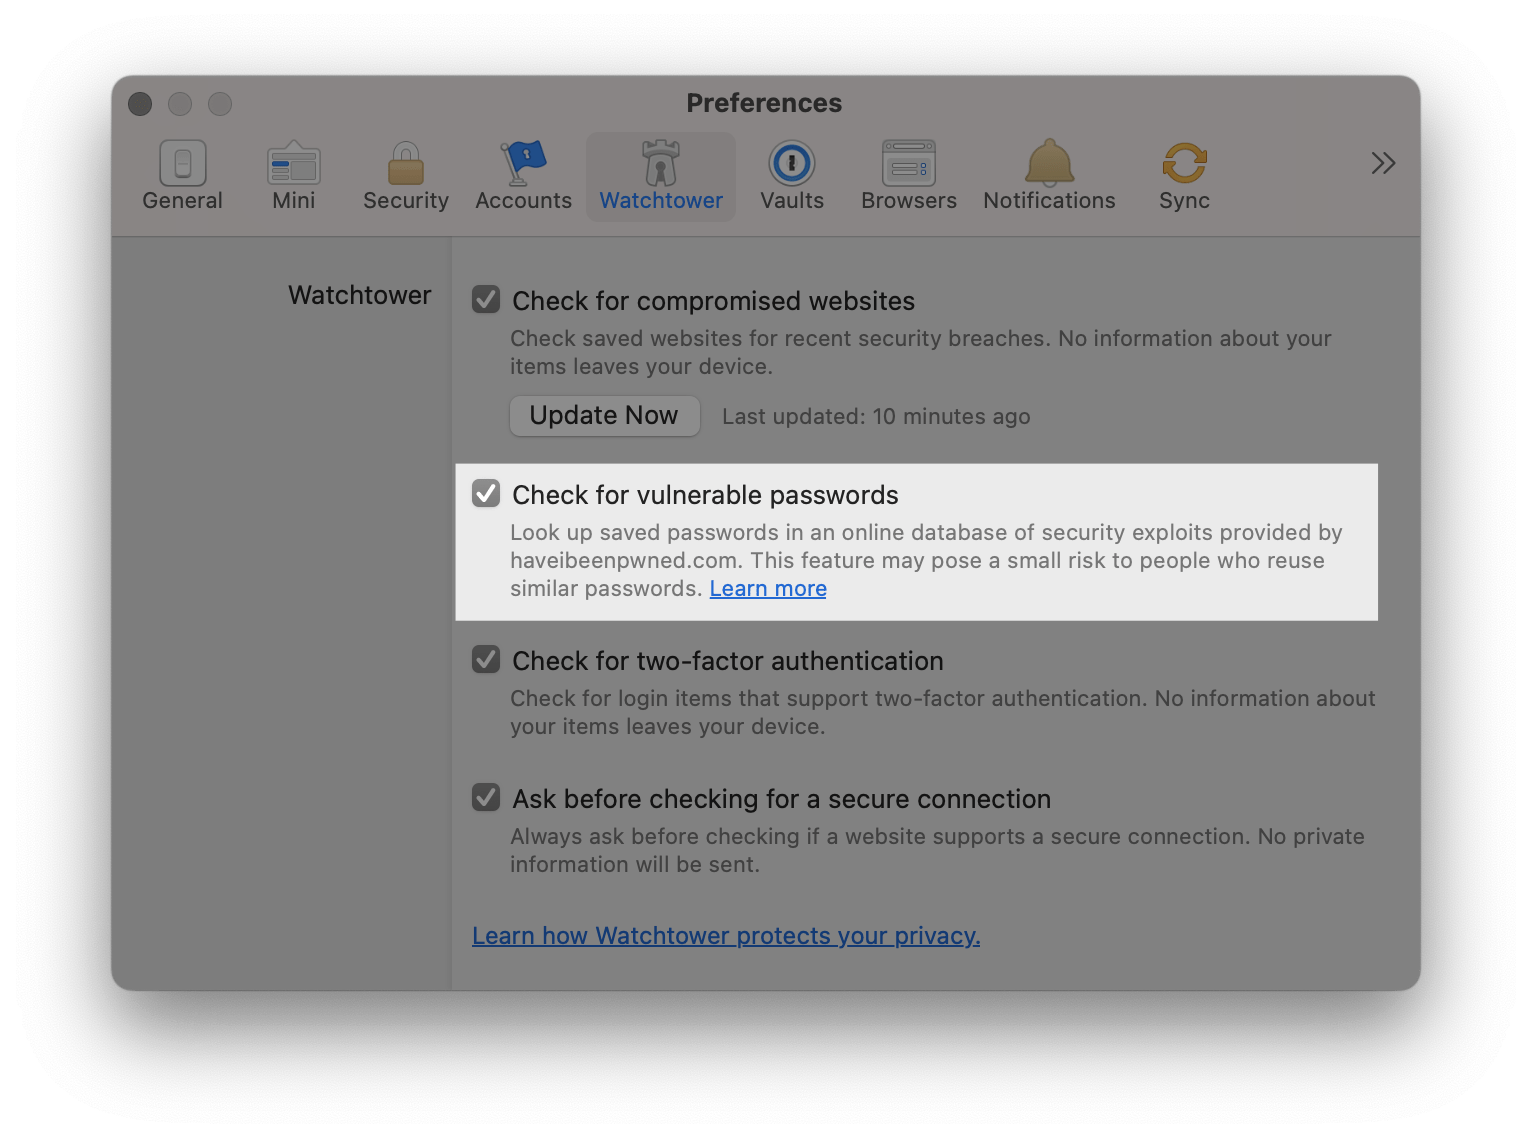
On the “Watchtower” section of the preferences you’ll find a set of features that add additional protection for you. Select the “Check for vulnerable passwords” checkbox to scan all of your saved logins for vulnerable passwords. This does not expose your actual password, the link at the bottom of this screen provides more details about how it works.
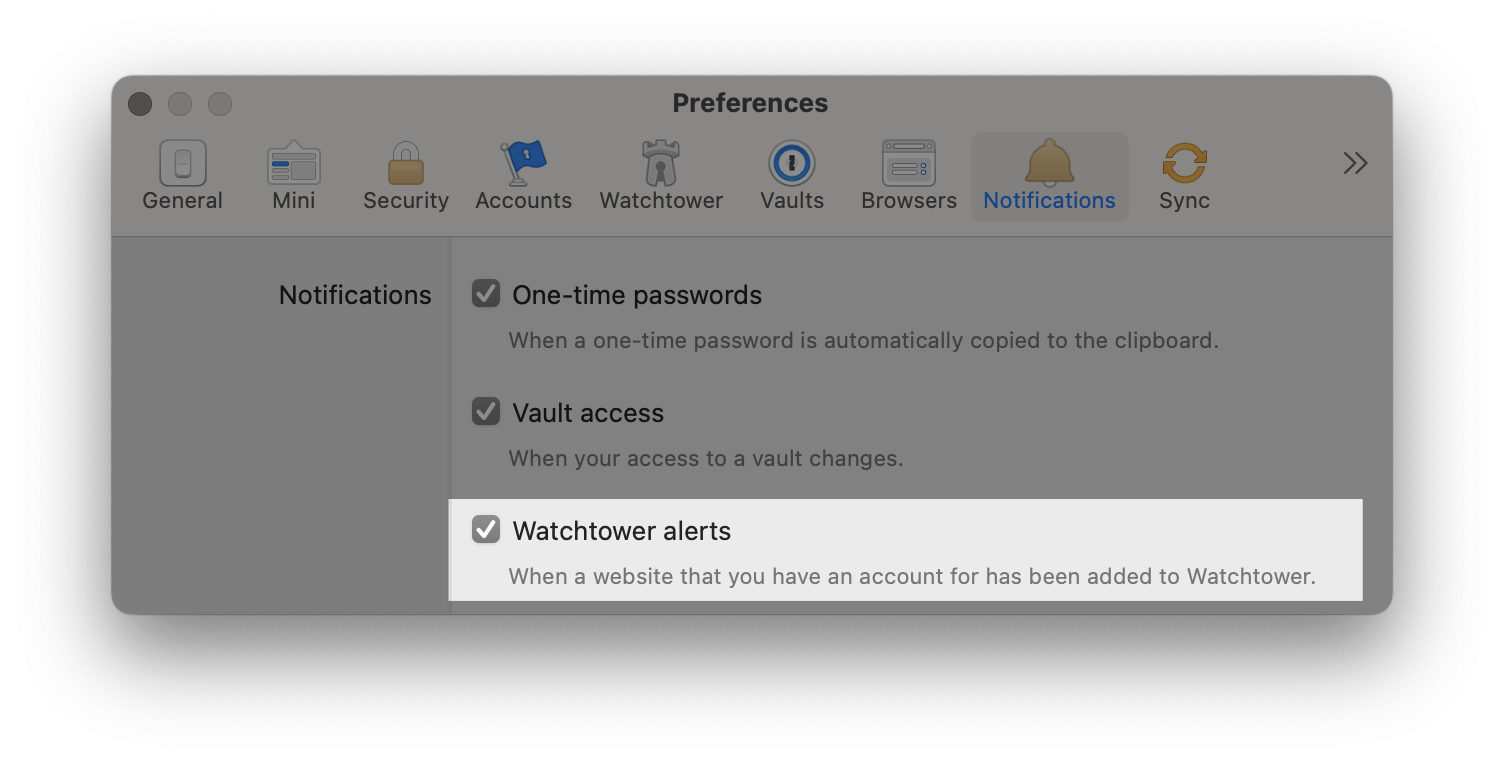
On the “Notifications” section of the preferences, select “Watchtower alerts” to be alerted when Watchtower has information for you.
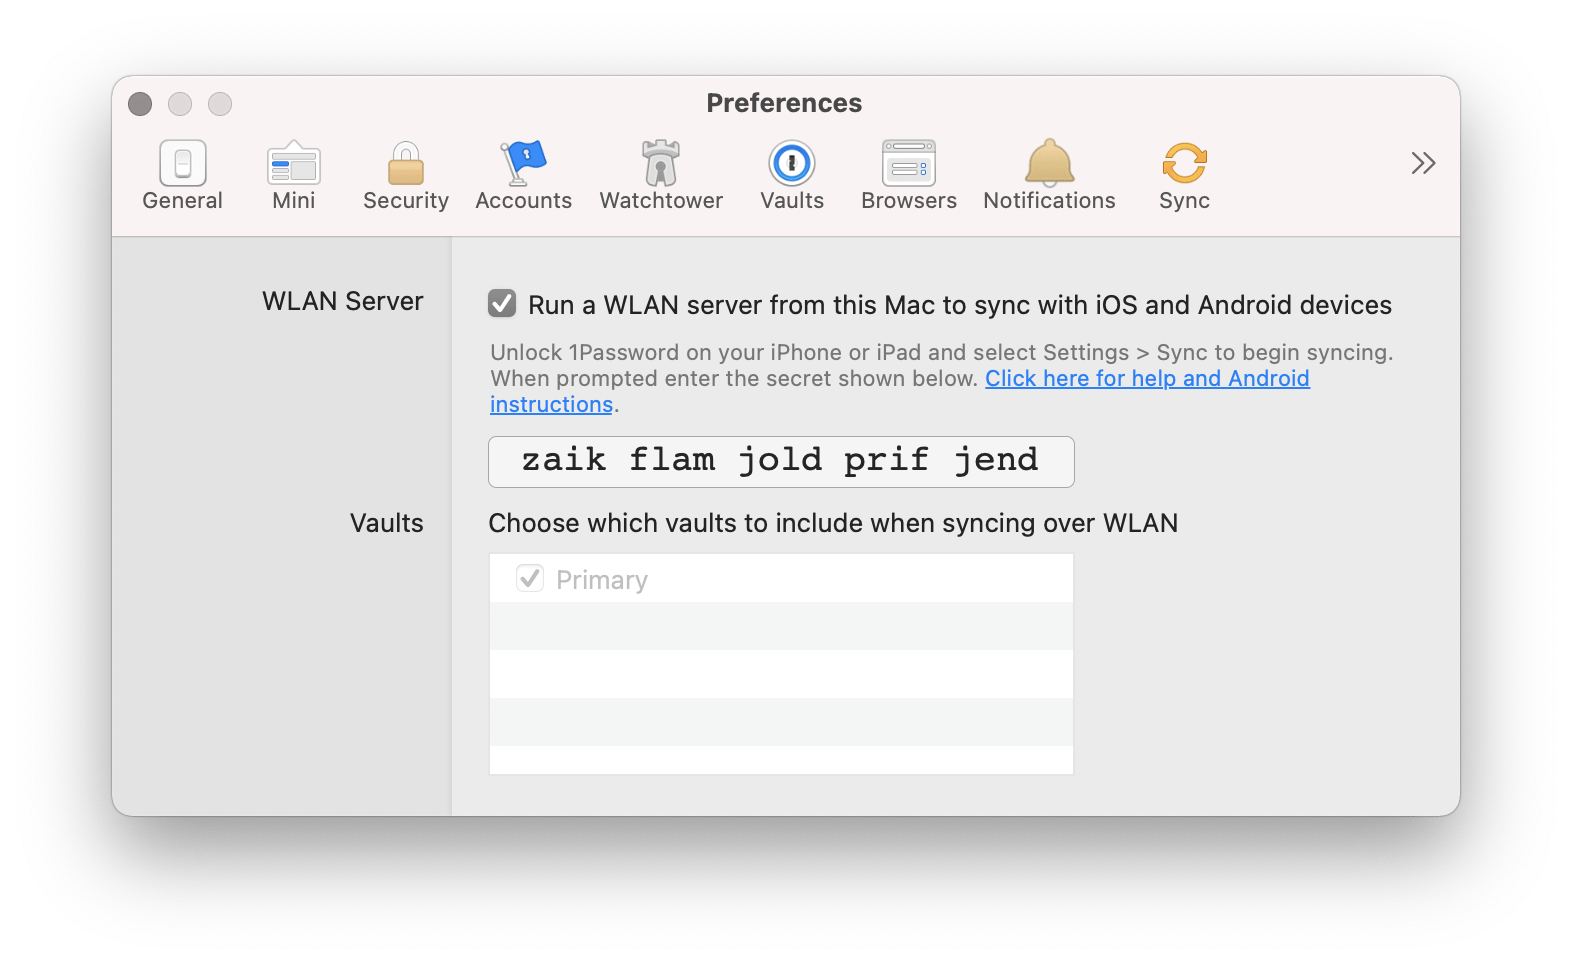
Click the “»” icon on the top right of the preferences screen and select “WLAN Server” then select the checkbox to turn this on. With this feature you can sync your 1Password “Vault” (login items) with other devices like your iPhone and iPad. I haven’t mentioned the concept of Vaults so as not to complicate matters but it’s just the “notebook” aspect of all this. You can have multiple Vaults (or “notebooks”) each with their own passwords, if you need more isolation of items.
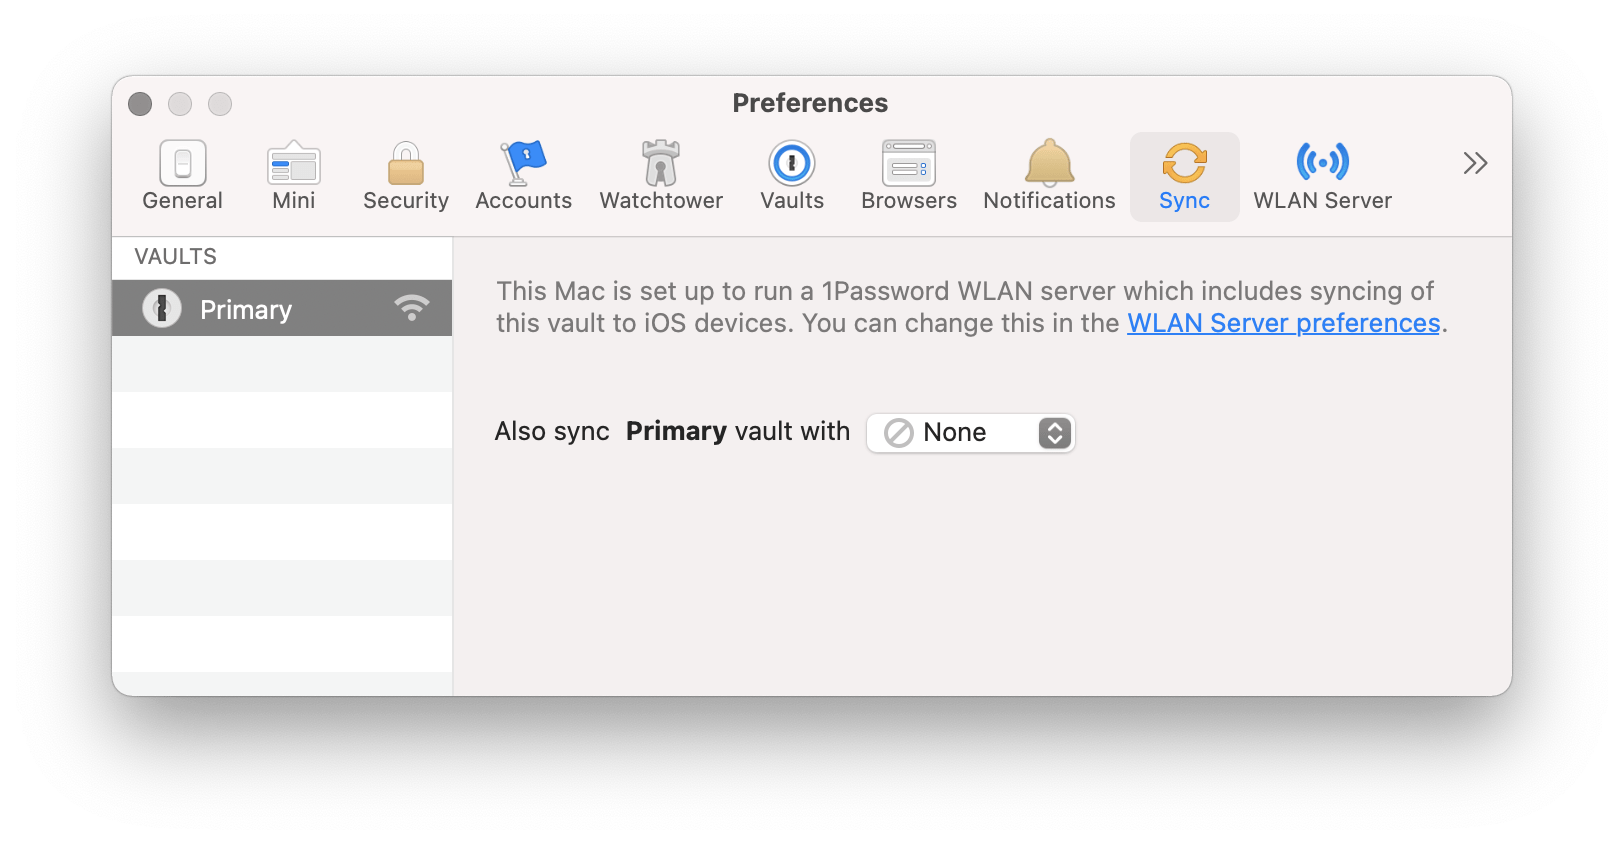
On the “Sync” section of the preferences, you can choose to sync your Vault (login items) on iCloud, Dropbox, or a folder on your computer (so you can sync it using other tools). Usually syncing with other devices using the “WLAN Server” is enough.
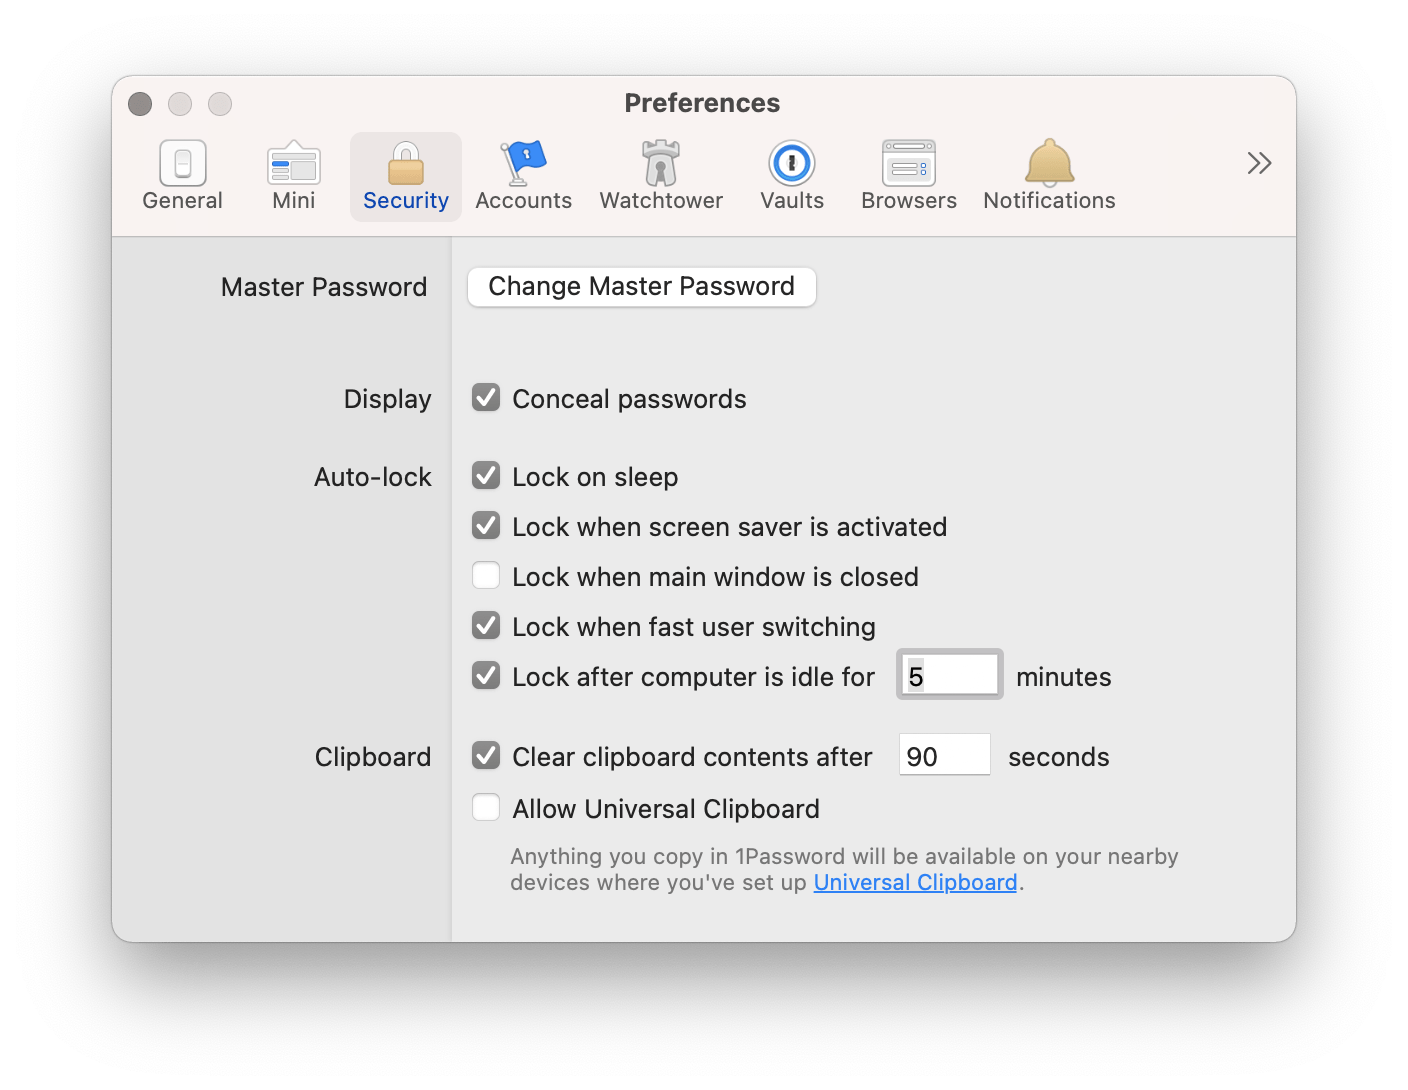
By default, 1Password will auto-lock if your entire computer is idle (you are not interacting with it at all) for 5 minutes, among other triggers. To adjust these triggers, go to the “Security” section of the preferences.
Congratulations! Now you are much less likely to have any of your accounts compromised and having to deal with the fallout.
To keep things simple, there were a number of things I didn’t cover here that I may cover in the future and until then you can probably find out fairly easily. You can put all kinds of information in your password manager that can also be used for auto-populating on websites to make your life easier. In particular credit cards and “identities”.
By using the accompanying iPhone and iPad apps in conjunction with syncing, you can ensure you always have all of your logins with you and up to date. The password autofill functionality on iOS allows you to use your 1Password items in any app.
Don’t burden yourself with worrying about not knowing all of your passwords - just let the password manager do its job for you. As long as you remember and or securely store your Master Password you’ll never need to know any password. If you’re extra paranoid, 1Password allows you to print all of the data within it but that kind of defeats its intended purpose.
See how well you're doing and learn how to improve in other privacy & security areas The Privacy Checkup.
Get the best privacy tips and news delivered to your inbox every week.
I'll never share or sell your email address. Use an email alias anyway.